
How To
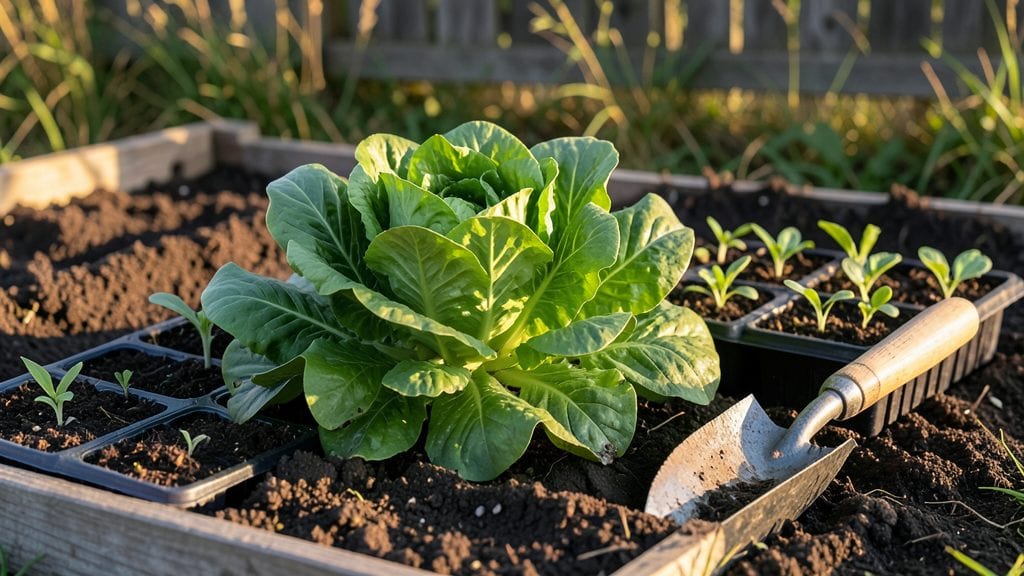
My veggie planting schedule starts with knowing your first frost date—because timing is everything when you want a garden that feeds you all season. I learned the hard way that planting too early means bolted lettuce, while planting too late means sad, stunted tomatoes.
The difference between a garden that barely produces and one that overflows with zucchini and green beans comes down to matching each plant's preferences with your climate.
Most gardeners focus only on spring planting, but the real secret to a productive garden is succession planting—staggering crops so you're always harvesting something fresh.
Cool-season crops like spinach and peas get their start in early spring or late summer, while heat-lovers like beans and cucumbers thrive when soil warms to 60°F or higher.
Even in small spaces, you can fit in multiple harvests by planning for quick-maturing varieties and replacing them as soon as they're done.
By the end of summer, you'll have a garden that keeps giving—crisp lettuce in June, juicy tomatoes in August, and fall radishes before the first frost.
The key is tracking your progress with a simple planting calendar or app, so you know exactly when to start seeds indoors, transplant seedlings, and make room for new crops. It's not about perfection; it's about rhythm.
This schedule works for backyard plots, raised beds, or even container gardens—just adjust for your specific zone. Whether you're in zone 5 or zone 9, the principles stay the same: know your frost dates, match plants to seasons, and never let a bed sit empty.
Let's get that garden growing on a timeline that actually works for you.
📚 In This Guide
- What you need
- Instructions
- Tips and common mistakes
- Wrapping up and next steps
What you need
- ● Seeds or seedlings: Choose based on your climate and preferred veggies (e.g., tomatoes, peppers, leafy greens). Pro tip: Start with heirloom or disease-resistant varieties for better yields! 🌡️
- ● Garden soil: 10–20 bags (50 lbs each) of high-quality potting mix or compost-enriched soil. Look for organic matter content ≥ 20%.
- ● Containers or garden beds: For containers: 5–10 pots (5–10 gallons each) with drainage holes.
- ● For in-ground: 1–2 raised beds (4’x8’ recommended) or a tilled plot (minimum 10’x10’).
- ● Watering can or hose: With a gentle spray nozzle for even moisture distribution.
- ● Fertilizer: Balanced organic fertilizer (10-10-10 or compost tea) or slow-release granules.
- ● Mulch: Straw or shredded leaves (2–3 inches) to retain moisture and suppress weeds.
- ● Gloves & knee pads: For comfort during planting and maintenance.
- ● Plant markers: Labels or stakes to track varieties and planting dates.
- ● Row covers: Lightweight fabric to protect seedlings from pests or frost.
- ● pH testing kit: To ensure soil pH is ideal (6.0–7.0 for most veggies).
- ● Pruning shears: For trimming dead foliage or harvesting.
- ● Trellis or stakes: For climbing plants like beans, cucumbers, or peas.
How to plan your veggie planting schedule for maximum yields
Here’s the proven approach I use to stretch harvests from spring through fall.
Determine Your Last Frost Date and Season Length
Find your average last frost date—this is your starting point. For most gardeners, it falls between March 15 and April 30, depending on location. Check your local cooperative extension service or use a planting zone map to pinpoint yours. I always mark this date on my calendar because it dictates when cool-season crops can go in the ground.
Next, count backward 12-14 weeks from your last frost for warm-season crops like tomatoes and peppers. These plants need consistent warmth to thrive, so starting them too early leads to stunted growth. If your season is short—say, 90 days or less—opt for faster-maturing varieties labeled "early" or "quick harvest." This ensures you get at least one full harvest before frost.
Organize Crops by Planting Time and Harvest Window
Divide your veggies into three groups: cool-season crops, warm-season crops, and year-round producers. Cool-season crops like lettuce, spinach, and peas tolerate light frosts and can go in 4-6 weeks before your last frost. Warm-season crops like beans, cucumbers, and squash need soil temperatures above 60°F and go in 2-4 weeks after your last frost. Year-round producers like kale, Swiss chard, and carrots can handle both cool and warm seasons.
I like to create a simple chart with columns for planting time, harvest window, and days to maturity. For example, if you plant bush beans on May 1, they’ll mature in 50-60 days, meaning your first harvest arrives around June 20. This helps me visualize gaps and plan succession plantings to keep the harvest coming.
Plan for Succession Planting to Extend Harvests
Succession planting is the secret to a never-ending harvest. After your first planting of quick-maturing crops like radishes or lettuce, sow a second batch 2-3 weeks later. For slower growers like carrots or broccoli, stagger plantings every 3-4 weeks until 8-10 weeks before your first frost. This ensures a steady supply instead of a single bumper crop followed by nothing.
I also use this trick for warm-season crops: plant a second round of fast growers like bush beans or zucchini 6-8 weeks before your first frost. These will mature just in time for a late-season harvest. For example, if your first frost is October 15, plant a second crop of beans around August 15 to catch the tail end of the season.
Adjust for Your Local Climate and Microclimates
Your yard isn’t uniform—some spots get sun longer, others stay cooler. Use this to your advantage. I always plant heat-loving crops like tomatoes and peppers near the south or west side of the house, where they get extra warmth from the building. Conversely, cool-season crops like cabbage or Brussels sprouts thrive in shadier, cooler spots like the north side or under trees.
If you live in a region with hot summers, opt for shade-tolerant varieties like malabar spinach or okra. In cooler climates, extend the season by using row covers or cold frames to protect tender crops. I’ve even grown lettuce through winter by covering it with a simple hoop tunnel—just add a few stakes and plastic sheeting for an instant greenhouse effect.
Map Out Your Planting Schedule with a Calendar
Grab a garden journal or digital calendar and plot your plantings week by week. Start with the earliest cool-season crops, then move to warm-season starters indoors, and finally, direct-sow warm-season crops after your last frost. Leave space for succession plantings—this is where the magic happens. For example, if you plant lettuce on April 1, follow it with a second batch on April 15, then a third on May 1 to ensure greens all summer.
I also mark harvest dates in red so I can see gaps and plan meals around what’s ready. This way, I know when to expect fresh tomatoes for salsa or zucchini for bread. It’s like having a veggie roadmap—no more guessing or wasted effort.
Tips & tricks for perfect veggie planting timing
These practical strategies will help you maximize your garden's potential and avoid common planting pitfalls that waste time and effort.
Season Length is Everything: When determining your planting window in Step 1, don't just rely on the average last frost date—check your local records for the past 5 years. I've learned the hard way that a single late frost can wipe out early plantings. For example, if your last frost typically falls on April 15 but you've had late frosts into May, adjust your cool-season planting by an extra 2 weeks to be safe. This extra caution prevents losing your entire early harvest.
Soil Temperature Matters More Than Calendar Dates: In Step 2, when preparing to plant warm-season crops, use a soil thermometer to confirm temperatures are consistently above 60°F before planting. I've seen many gardeners plant too early because they assumed the air temperature was warm enough, only to have their seedlings rot in cold soil. For cool-season crops, wait until soil temperatures drop below 70°F—this prevents bolting (premature flowering) in heat-sensitive greens like lettuce and spinach.
Succession Planting Payoff: The 2-3 week intervals mentioned in Step 3 for quick crops and 3-4 week intervals for slower growers might seem like overkill, but trust me—this is how you avoid the "all at once" harvest dilemma. I once planted all my lettuce seeds at once and ended up with a mountain of greens that wilted before I could use them all. Staggering your plantings ensures you always have something fresh to harvest, whether it's baby greens or mature heads.
Microclimate Mastery: When adjusting for your yard's unique conditions in Step 4, go beyond just sun exposure. I've found that south-facing walls can add 5-10°F of warmth to nearby planting areas, creating microclimates perfect for heat-loving plants. Use this to your advantage by planting peppers and tomatoes near warm walls, while keeping more delicate greens in cooler, shaded spots. This simple adjustment can extend your growing season by several weeks in either direction.
Pro Tips for Veggie Planting Schedule
- These practical strategies will help you maximize your garden's potential and avoid common planting pitfalls that waste time and effort.
- Season Length is Everything: When determining your planting window in Step 1, don't just rely on the average last frost date—check your local records for the past 5 years.
- Soil Temperature Matters More Than Calendar Dates: In Step 2, when preparing to plant warm-season crops, use a soil thermometer to confirm temperatures are consistently above 60°F before planting.
Frequently asked questions
Got questions about nailing your veggie planting schedule? You’re not alone—even seasoned gardeners need a refresher now and then! Here are the answers to the most common FAQs to help you plan like a pro and avoid common pitfalls.
When is the exact best time to start planting?
The best time depends on your climate and crop type! For cool-season veggies (like lettuce, spinach, or peas), plant 4–6 weeks before your last frost date. Warm-season crops (tomatoes, peppers, cucumbers) need to go in after soil warms to 60°F+—usually 2–3 weeks after frost. Check your USDA zone for precision!
Can I plant veggies in winter?
Many veggies thrive in cooler weather. Try kale, carrots, broccoli, or garlic—they’re frost-hardy and even sweeter after a light freeze. Use row covers or cold frames to protect tender greens like spinach. Just avoid planting heat-lovers (like basil or okra) until spring!
What if I miss the planting window?
No stress! Succession planting is your secret weapon. For fast growers (like radishes or lettuce), sow new seeds every 2–3 weeks to keep a steady harvest. For slower crops (tomatoes, peppers), opt for container gardening—you can move pots indoors or to a greenhouse if frost hits early.
How do I adjust my schedule for pests or bad weather?
Pests or rain delays? Rotate crops to disrupt pest cycles, and use row covers for early plantings. If weather turns sour, prioritize short-season varieties (like bush beans or ‘Early Girl’ tomatoes) or switch to indoor microgreens as a backup. Always have a Plan B!
Do I need to follow a schedule strictly, or can I improvise?
Flexibility is key! While schedules provide a framework, adjust based on your garden’s performance. Track what thrives (or flops) each year and tweak timing. Container gardens offer extra freedom—extend seasons by moving pots to sunnier spots or using grow lights!
Wrapping up and next steps
Creating a veggie planting schedule is your secret weapon for a thriving garden and bountiful harvests! By aligning your plantings with seasonal timing, you’ll maximize yields, minimize waste, and enjoy fresh produce all year long.
Whether you’re a beginner or a seasoned gardener, a little planning goes a long way—so grab your calendar, roll up your sleeves, and get ready to watch your garden flourish! 🌱
Your next step? Start small—pick 2-3 crops to focus on this season, map out your schedule, and dive in! Before you know it, you’ll be savoring homegrown veggies straight from your plot to your plate.