
Diseases
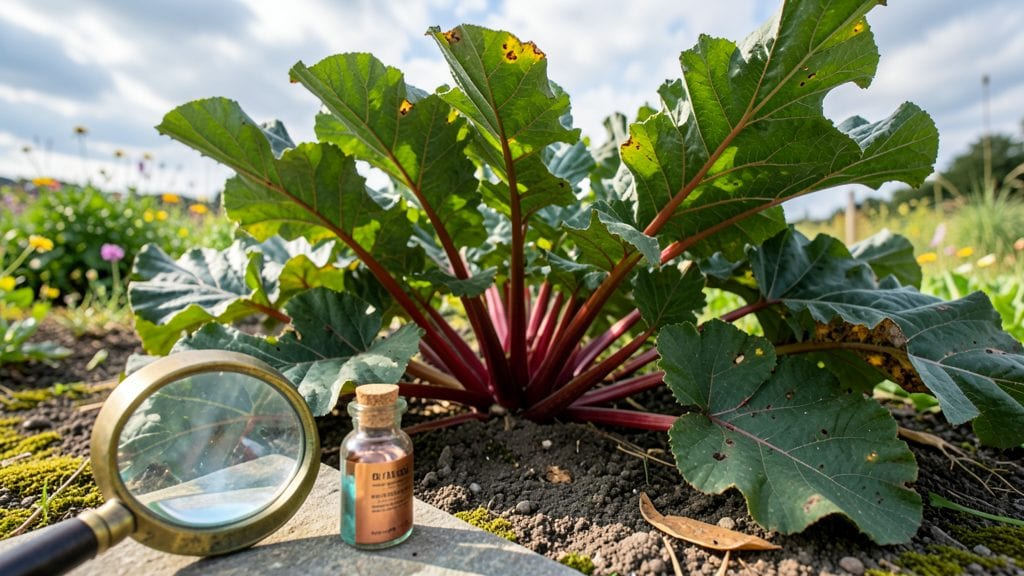
Rhubarb plant diseases can turn your lush harvest into a sad, spotted mess—especially when rust and crown rot strike. 🌿 I’ve lost entire plants to these sneaky fungal foes, and what I learned changed how I care for my rhubarb forever.
The key isn’t just spotting the symptoms early (though that’s critical), but understanding why these diseases thrive—and how to starve them out before they spread.
Most of these problems start with moisture—too much rain, crowded plants, or even overwatering creates the perfect breeding ground. But here’s the good news: organic fixes like neem oil, copper sprays, and proper spacing can save your plants if you catch the issue early.
I’ll walk you through the 7 worst offenders, how to ID them, and the exact steps to treat them—without harsh chemicals. Your rhubarb’s future depends on acting fast, and trust me, you don’t want to wait until the leaves start curling.
📚 In This Guide
- What you need
- Instructions
- Tips and common mistakes
- Wrapping up and next steps
What you need
- ● Healthy rhubarb plants (preferably disease-free, if possible) – 1-3 plants
- ● High-quality potting soil or garden soil – 2-3 cubic feet per plant (well-draining, rich in organic matter)
- ● Organic compost or fertilizer – 1-2 cups per plant (balanced 10-10-10 or compost tea)
- ● Copper fungicide – 1-2 tbsp per gallon of water (for preventive sprays)
- ● Baking soda solution – 1 tbsp baking soda + 1 tsp dish soap + 1 gallon water (for mild fungal issues)
- ● Neem oil – 1-2 tbsp per gallon of water (natural fungicide and insect repellent)
- ● Pruning shears – sterilized with rubbing alcohol (for removing infected leaves/stems)
- ● Garden gloves – 1 pair (to protect hands from spores and sap)
- ● Spray bottle – 1-2 (for applying fungicides or neem oil)
- ● Garden hose with nozzle – 1 (for rinsing plants or diluting treatments)
- ● pH testing kit – 1 (to check soil acidity; ideal range: 6.0-6.8 for rhubarb)
- ● Mulch (straw or wood chips) – 2-3 inches thick (to retain moisture and prevent soil-borne diseases)
- ○ Reflective mulch or aluminum foil – optional (to deter pests like flea beetles)
- ● Plant tags or journal – 1 (to track symptoms, treatments, and progress)
How to diagnose and treat common rhubarb fungal diseases
Here's the practical guide I've used to save rhubarb patches from crumbling—no mystery symptoms, just clear fixes.
🌿 Step 1: Spot the Early Warning Signs
Start by inspecting leaves and stems for powdery white spots or dark, sunken patches—these are your first clues. Powdery mildew appears as fuzzy white coatings on leaf undersides, while rust shows as orange pustules. Check the crown where stems meet soil for soft, mushy rot—a sure sign of crown rot.
Don't wait until leaves yellow or stems collapse. I check plants every 7-10 days during wet seasons, especially after rain. Early detection means less damage and simpler treatments. If you see black spots with yellow halos, that's leaf spot disease—common in crowded patches.
💧 Step 2: Adjust Watering to Prevent Spread
Overhead watering is the #1 way fungal spores hitch a ride to your rhubarb. Switch to drip irrigation or soaker hoses to keep foliage dry. Water in the early morning so leaves have all day to dry—fungi love dampness. I avoid watering after 6 PM because evening moisture lingers overnight.
If your patch sits in a low spot where water pools, raise beds by 4-6 inches or add a 2-inch layer of coarse sand to improve drainage. Never let soil stay soggy—rhubarb roots need air, not waterlogged conditions. Mulch with 2-3 inches of straw to reduce soil splash onto leaves.
✂️ Step 3: Prune and Clean Infected Areas
Remove any leaves with visible fungal growth immediately—don't compost them. Toss infected foliage in the trash (not your yard waste bin) to prevent spores from reinfecting. I sterilize my pruners with 70% rubbing alcohol between cuts to avoid spreading pathogens.
For severe cases, cut back 1/3 of the plant to improve airflow. Thin crowded stalks to 6-8 inches apart so light and air circulate. Never prune when leaves are wet—wait until late morning or afternoon when they're dry. Disinfect tools again after finishing.
🌱 Step 4: Apply Targeted Fungicides
For powdery mildew, spray plants with a baking soda solution (1 tablespoon baking soda + 1 quart water + a drop of dish soap) every 7-10 days until symptoms clear. For rust or leaf spot, use a copper fungicide (like copper sulfate) following label rates. I apply treatments in the early evening to avoid burning leaves in direct sun.
Rotate fungicides if you see resistance—never use the same product more than 2 times in a row. Organic options like neem oil (1 tablespoon per quart of water) work well for mild infections. Always spray undersides of leaves where spores hide. Reapply after rain to maintain coverage.
☀️ Step 5: Strengthen Plants for Next Season
After treating, feed rhubarb with balanced fertilizer (10-10-10) in early spring to boost vigor. I avoid high-nitrogen fertilizers—they encourage lush growth that attracts fungi. Instead, focus on phosphorus and potassium to build disease resistance.
Rotate your rhubarb patch every 3-4 years to prevent soil-borne diseases from taking hold. Plant in full sun (6+ hours daily) and choose disease-resistant varieties like 'Victoria' or 'Valentine'. Healthy plants fight off fungi better than weakened ones. Keep records of what worked for future reference.
Tips & tricks for diagnosing and treating rhubarb fungal diseases
These practical tips will help you tackle fungal issues in your rhubarb patch before they spiral out of control.
Visual Inspection is Key: In Step 1, when checking for powdery white spots or dark patches, use a magnifying glass for close-ups. I've caught early powdery mildew by examining leaf undersides where spores first appear. Look for fuzzy textures that distinguish mildew from harmless dust. Remember, early detection at the 7-10 day check intervals makes all the difference in preventing spread.
Watering Strategy Matters: The early morning watering in Step 2 isn't just about timing—it's about creating conditions where leaves dry completely by afternoon. I've seen fungal infections flare up after weekend watering when people forget about the 6 PM cutoff. Consider installing a simple rain gauge to track moisture levels and adjust your watering schedule accordingly. For established patches, you might only need water every 10-14 days depending on rainfall.
Pruning Precision Prevents Spread: When removing infected leaves in Step 3, cut back to healthy tissue about 1/2 inch below visible symptoms. I learned this the hard way after leaving tiny infected areas that regrew the problem. Sterilizing tools between cuts is non-negotiable—fungal spores can survive on unsterilized blades. For severe cases, consider removing entire leaves rather than just the infected parts to minimize contamination.
Fungicide Application Technique: The baking soda solution in Step 4 works best when applied until leaves are thoroughly wet, including undersides. I use a handheld sprayer with a fine mist setting to ensure complete coverage. For copper fungicides, always follow label rates—overapplying can damage leaves. Apply in early evening as instructed to avoid leaf burn, but be prepared to reapply after heavy rain within 24 hours to maintain protective coverage.
Pro Tips for Rhubarb Plant Diseases
- These practical tips will help you tackle fungal issues in your rhubarb patch before they spiral out of control.
- Visual Inspection is Key: In Step 1, when checking for powdery white spots or dark patches, use a magnifying glass for close-ups.
- Watering Strategy Matters: The early morning watering in Step 2 isn't just about timing—it's about creating conditions where leaves dry completely by afternoon.
Frequently asked questions
Got questions about keeping your rhubarb plants healthy? You’re not alone! Here are some of the most common concerns—and how to tackle them.
What are the first signs of disease in my rhubarb plant?
Watch for yellowing leaves, black or brown spots on stems/leaves, or puffy white mold (like powdery mildew). Wilting, stunted growth, or oozing lesions? These could signal fungal infections like rust or crown rot. Act fast—remove affected parts immediately to stop spread!
When is the best time to treat rhubarb diseases?
Spring and early summer are critical! Treat before symptoms appear (e.g., after rain or when humidity rises). For established infections, act at the first sign. Avoid treating in late summer—plants need time to recover before dormancy. Pro tip: Morning applications work best—fungicides need dew to stick!
Are there natural remedies for rhubarb plant diseases?
Yes! Try a baking soda spray (1 tsp baking soda + 1 quart water + drop of soap) for powdery mildew, or neem oil (2 tsp per gallon) for fungal spots. For severe cases, copper fungicide is organic-approved. Always test on a small leaf first—some plants are sensitive!
Can I save a diseased rhubarb plant, or should I remove it?
It depends! For mild infections (like early powdery mildew), prune affected areas and treat. But if you see crown rot or severe rust, remove the entire plant—fungi linger in the soil. Sterilize tools with rubbing alcohol to prevent cross-contamination. Pro tip: Replace soil if diseases persist!
How do I prevent rhubarb diseases next season?
- Rotate crops: Avoid planting rhubarb in the same spot for 3+ years.
- Improve airflow: Space plants 3–4 feet apart and prune crowded foliage.
- Water wisely: Use drip irrigation (not overhead) to keep leaves dry.
- Clean up debris: Remove old leaves/stems in fall to eliminate fungal spores.
Wrapping up and next steps
Identifying and treating rhubarb plant diseases early can make all the difference in keeping your garden thriving! 🌱 From powdery mildew to crown rot, understanding these fungal foes helps you act fast and protect your harvest.
With the right tools—like neem oil, copper sprays, and proper sanitation—you’re already on the path to healthier plants.
Now’s the time to put your knowledge into action! Start by inspecting your rhubarb plants regularly, remove any infected leaves or stalks, and apply preventive treatments before issues arise. Your future pies (and peace of mind) will thank you!