
Pruning
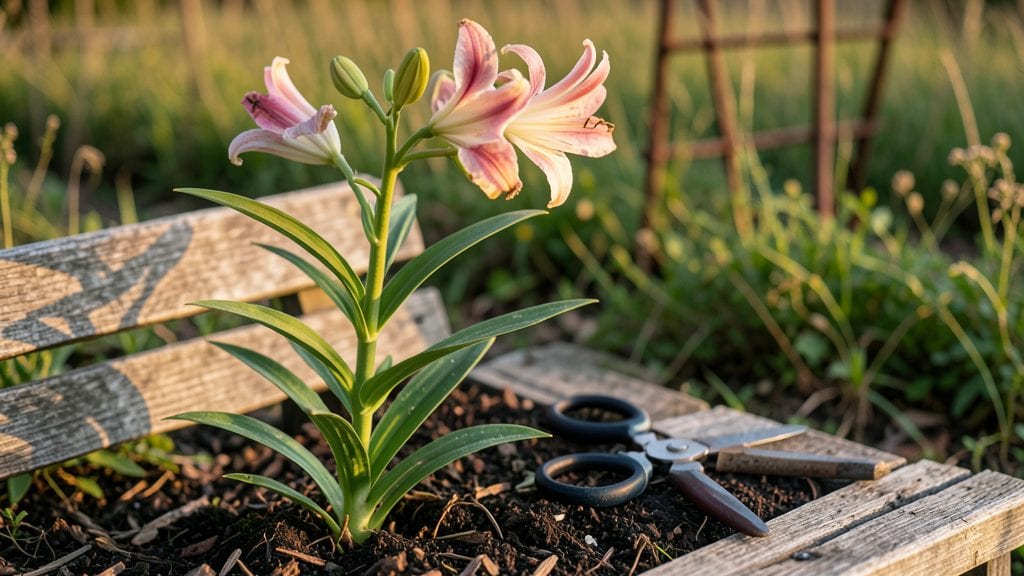
Trimming lily plants isn’t just about tidying up—it’s the secret to year-round blooms and stronger stems for next season. ✨ I’ve learned that skipping this step means fewer flowers and weaker growth, but with three simple seasonal cuts, your lilies will thrive.
The key is timing: after blooms fade, when foliage yellows, and before winter’s chill sets in.
You’ll need sharp pruners, gloves, and a clear day to work. For true lilies, cut back the flower stalks once they brown, leaving the leaves until they yellow naturally.
Daylilies handle a little more aggressive trimming—snip dead blooms to the next set of leaves, and cut back foliage by half in late fall. The goal is clean cuts, not stubs, to prevent disease.
What you’ll get is a lush, healthy plant that blooms longer and stronger each year. The foliage stays vibrant, the bulbs store energy better, and you avoid the sad sight of leggy stems or skipped blooms.
Think of it as a spa day for your lilies—they’ll reward you with bigger, brighter flowers next season.
Works for both true lilies and daylilies, and adapts to containers or garden beds. The same principles apply whether you’re trimming a single stem or a whole border. Let’s get those pruners ready—your lilies will thank you.
📚 In This Guide
- What you need
- Instructions
- Tips and common mistakes
- Wrapping up and next steps
What you need
- ● Pruning shears or bypass pruners – Sharp, clean, and sterilized (rubbing alcohol or bleach solution works). Size: 5–7 inches, with ergonomic grips for comfort.
- ● Garden gloves – Heavy-duty, nitrile-coated (to protect against thorns and sap). Quantity: 1 pair.
- ○ Disinfectant (optional but recommended) – 1 part bleach to 9 parts water for sterilizing tools between cuts.
- ● Compost bin or bag – For trimming waste. Size: Medium (10–15 gallons) to hold clippings.
- ● Hand pruners (small) – For delicate trimming near the base. Quantity: 1 pair.
- ● Garden twine or plant ties – To support tall stems after trimming. Quantity: 1 roll.
- ● Watering can or hose – For post-trim hydration. Tip: Use room-temperature water to avoid shocking roots!
- ○ Fertilizer (balanced, 10-10-10 or slow-release) – Optional: Apply post-trim to boost regrowth. Quantity: 1–2 lbs per 10 sq ft.
- ● ✅ Know your lily type – Daylilies, Asiatic, Oriental, or Trumpet lilies each have unique trimming needs. Pro tip: Check plant tags or consult a local nursery!
- ● ✅ Ideal weather – Trim on a dry, overcast day or early morning to reduce stress on the plant.
- ● ✅ Patience – Lilies can be thorny and stubborn—take your time to avoid accidental nicks!
Step-by-Step guide for trimming lily plants
Here's the seasonal approach I use to keep lilies blooming beautifully year after year.
🌿 Step 1: Late Spring Cleanup After Blooming
Once your lilies finish flowering in late spring, cut back the flower stalks 1-2 inches above the ground using clean, sharp pruners. This prevents the plant from wasting energy trying to produce seeds and redirects it toward next year's blooms. I always sterilize my pruners with rubbing alcohol first to avoid spreading disease between cuts.
Leave the broad, strap-like leaves untouched—they're busy photosynthesizing and storing energy for next season. You'll know you've trimmed at the right time when new buds begin forming at the base of the plant. This is also the perfect moment to remove any yellowed or damaged foliage with the same clean cut.
✂️ Step 2: Summer Maintenance for Healthy Foliage
During the growing season, focus on removing only the spent flower stalks and any foliage that appears diseased or insect-damaged. Never cut more than one-third of the leaves at once—healthy foliage is essential for photosynthesis and bulb strength. I like to do this on a dry morning when the plants are at their peak vitality.
Watch for signs of stress like brown tips or curled leaves. These often indicate either overwatering or pests. If you spot aphids or spider mites, treat immediately with neem oil or insecticidal soap. The key is to maintain the plant's energy reserves while keeping it pest-free—this ensures robust blooms next spring.
🪴 Step 3: Fall Preparation for Dormancy
When the leaves begin to yellow and wither in fall, it's time for your final trim. Cut back the foliage when about 60% has turned brown, leaving only the base. This prevents the plant from wasting energy trying to maintain dead leaves during winter. I usually do this in late October or early November, depending on my climate zone.
After trimming, apply a 2-3 inch layer of mulch around the base to protect the bulbs from freezing temperatures. Avoid piling mulch directly against the stems—keep it 2 inches away to prevent rot. This final cut signals the plant it's time to enter dormancy, setting the stage for next year's spectacular blooms.
⏰ Step 4: Early Spring Awakening Trim
In early spring, just as new shoots begin to emerge, do a final light trim to remove any remaining dead foliage or debris. This creates a clean growing space and prevents fungal diseases from taking hold. I find that doing this when the soil is still cool but the shoots are 2-3 inches tall gives the plants a fresh start.
At this stage, you might also want to divide any congested clumps. Simply dig up the bulbs, separate the offsets, and replant them 6-8 inches deep and 6 inches apart. This rejuvenates the plants and often results in even more abundant blooms. Water lightly after replanting to help settle the soil around the new bulbs.
Tips & tricks for perfect lily plant trimming
These simple tricks will help you maintain healthy lilies that bloom beautifully every season.
Timing is Everything: In Step 1, when you're cutting back those flower stalks just 1-2 inches above ground, do it immediately after blooms fade completely. Waiting too long can stress the plant, while doing it too early removes potential seed heads that could feed next year's growth. I always check for new buds forming at the base—this is your perfect cue to trim.
Tool Preparation Matters: Before you even start, sterilize your pruners with rubbing alcohol between cuts, especially in Step 1 and Step 2. I learned this the hard way after spreading fungal spores between plants. Also, keep your blades sharp—dull pruners crush stems instead of making clean cuts, which can invite disease. A quick wipe-down with a damp cloth between plants also helps prevent cross-contamination.
Leaf Preservation Strategy: Remember that one-third rule from Step 2? That's non-negotiable. I've seen gardeners cut too much foliage thinking they're helping, but lilies need those leaves to photosynthesize and store energy for next year's blooms. If you must remove leaves, focus only on diseased or damaged ones and never take more than that critical one-third at any time.
Fall Mulching Technique: When you apply that 2-3 inch layer of mulch in Step 3, use organic materials like straw or shredded leaves rather than plastic. Organic mulch breaks down over time, adding nutrients to the soil while protecting bulbs. And that 2-inch clearance from the stems? It's crucial—piling mulch directly against stems creates moisture that can rot the bulbs during winter.
Pro Tips for Trim Lily Plant
- These simple tricks will help you maintain healthy lilies that bloom beautifully every season.
- Timing is Everything: In Step 1, when you're cutting back those flower stalks just 1-2 inches above ground, do it immediately after blooms fade completely.
- Tool Preparation Matters: Before you even start, sterilize your pruners with rubbing alcohol between cuts, especially in Step 1 and Step 2.
Frequently asked questions
Got questions about trimming your lily plants? You’re not alone! Here are some of the most common concerns—plus straightforward answers to keep your lilies thriving.
When is the best time to trim lilies?
Trim lilies after blooming in early summer (late June to July) to encourage new growth. For tropical lilies, prune lightly in spring to shape the plant. Avoid heavy cuts in fall—focus on cleanup instead. Pro tip: Never trim more than one-third of the foliage at once!
How do I trim lilies without killing the plant?
Use clean, sharp pruners to cut just above a leaf node or bud (about 1/4 inch above). Avoid cutting into woody stems—this can invite disease. For deadheading, snip spent blooms at the base. Warning: Wear gloves! Lily sap can irritate skin.
Can I trim lilies in winter?
Only trim dead or damaged foliage in winter—never cut back healthy growth. Hardy lilies (like Asiatic or Oriental) may look dormant, but their roots are storing energy. Wait until spring to prune for new shoots. Mulch lightly to protect roots from frost.
What if my lilies don’t bloom after trimming?
Lilies need 6–8 hours of sunlight and well-draining soil to rebloom. If they skip blooms, check for overcrowding (divide clumps every 3–4 years) or nutrient deficiencies (feed with bulb fertilizer in early spring). Patience pays off—some varieties bloom twice a year with proper care!
Are there alternatives to pruning lilies?
Yes! For a low-maintenance look, simply remove spent blooms (deadheading) to redirect energy to foliage. If you hate trimming, try lily varieties with self-cleaning blooms, like Lilium ‘Stargazer’, which shed petals naturally. Just avoid piling up old foliage—it can harbor pests.
Wrapping up and next steps
Trimming your lily plants is the secret to long-lasting blooms and healthier growth—no matter the season! Whether you’re shaping leggy stems, removing spent flowers, or prepping for winter, these three seasonal cuts keep your lilies thriving year-round.
With the right tools and timing, you’ll enjoy a garden bursting with vibrant blooms for seasons to come.
Ready to transform your lilies into showstoppers? Grab your pruners and start with one simple cut today—your garden will thank you! 🌸✂️