
Pruning
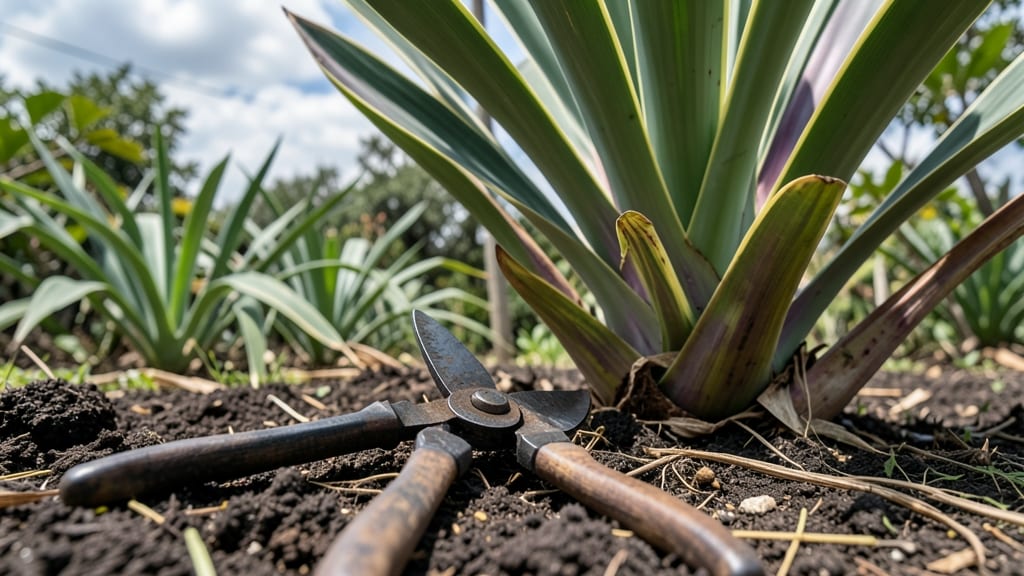
Pruning cordyline plants transforms them from straggly to stunning with just three strategic cuts. I’ve pruned mine every spring for five years, and the difference is dramatic—thicker stems, brighter foliage, and growth that fills in gaps where bare stems once marred the plant’s shape.
The key isn’t just cutting; it’s timing, technique, and knowing when to stop before you strip the plant of its energy.
You’ll need sharp bypass pruners, rubbing alcohol for sterilizing cuts, and a clear day to assess the plant’s structure. Start by removing any dead or yellowing fronds at the base—these drain energy and invite pests.
Next, trim back overcrowded or leggy growth by about a third, cutting just above a leaf node to encourage branching. The final cut shapes the plant’s silhouette, whether you’re refining a formal hedge or letting it grow naturally.
After pruning, your cordyline will reward you with fresh, vibrant growth within weeks. New fronds emerge from the center, filling in bare spots and creating that lush, tropical look. The plant also becomes more resistant to disease since you’ve removed damaged tissue.
Just avoid cutting into the woody stem—this won’t regrow—and never prune more than a third of the foliage at once, or you’ll stress the plant.
This method works year-round in warm climates, but in colder zones, wait until after the last frost when new growth can establish before winter. Whether you’re pruning a single plant or a border, the same rules apply.
The result? A cordyline that stays compact, healthy, and showstopping for years to come.
📚 In This Guide
- What you need
- Instructions
- Tips and common mistakes
- Wrapping up and next steps
What you need
- ● Pruning shears or bypass pruners – Choose sharp, sterilized tools (4–6" blades) to avoid crushing stems or spreading disease.
- ● Garden gloves – Heavy-duty, nitrile-coated gloves (size medium/large) to protect against sap and thorns.
- ● Disinfectant (70% isopropyl alcohol or bleach solution) – 1 part bleach to 9 parts water for cleaning tools between cuts.
- ● Compost or mulch – A 5-gallon bag of organic compost to amend soil after pruning.
- ● Sharpie or permanent marker – For marking cutting sections if propagating.
- ● Buckets or trays – 2–3 5-gallon containers for collecting clippings (if propagating).
- ○ Rooting hormone (optional) – A small tube of gel or powder to boost success rates for cuttings.
- ● Timing – Prune in early spring (for major cuts) or after flowering (late summer/fall) for minimal stress.
- ● Weather check – Avoid pruning if rain is forecasted within 24 hours (prevents rot).
- ● Plant health assessment – Inspect for pests/diseases (e.g., spider mites) before pruning.
- ● Water access – A hose or watering can with a fine spray nozzle for post-pruning hydration.
- ● Hedge shears – For clean, uniform cuts on dense foliage.
- ● Plant food (balanced fertilizer) – 10-10-10 NPK ratio to nourish post-pruning.
- ● Pruning saw – If dealing with thick, woody stems (>1" diameter).
- ● Camera or sketchpad – To map out cuts before starting.
Step-by-Step instructions for pruning cordyline plants
Here's my foolproof method for keeping your cordylines lush and vibrant year-round.
Identify and Remove Dead or Damaged Growth
Start by examining your cordyline for any brown, mushy, or brittle stems—they’re dead and need immediate removal. I use clean, sharp pruning shears to cut these stems at the base, just above a healthy leaf node or joint. This prevents disease from spreading to the rest of the plant. If you spot any yellowing leaves, don’t panic—just trim them off at their base. The goal here is to keep only the firm, green growth that feels slightly springy when touched.
Work methodically from the top down, making clean cuts at a 45-degree angle about ¼ inch above a leaf node. This angle helps water run off the cut and reduces the risk of rot. If you’re unsure whether a stem is dead or just dormant, wait a few days—healthy stems will perk up with proper watering, while dead ones will remain limp.
Thin Out Overcrowded or Weak Stems
Cordylines can get leggy or develop weak stems that lean toward the light. These are your cues to thin out the plant. Look for stems that are thinner than a pencil or spaced too closely together—these compete for nutrients and weaken the plant. I usually remove one-third of the oldest or weakest stems in each pruning session. This encourages new, stronger growth from the base.
Use your pruning shears to cut these stems at the base, right where they meet the soil or the main stem. Avoid leaving stubs—they can trap moisture and invite fungal issues. After thinning, step back and admire your plant. You should see an open, airy structure that allows light and air to circulate freely. This isn’t just about looks; it’s about giving your cordyline room to breathe and thrive.
Shape the Plant for Balanced Growth
Now for the fun part—shaping! Cordylines respond well to pruning, so you can guide their growth into a fuller, bushier form. Focus on trimming the top 2-3 inches of the tallest stems to encourage branching. Make your cuts just above a set of leaves or a leaf node, and angle them slightly to promote faster healing. If your cordyline has grown too tall or lopsided, you can also prune the taller side slightly more to encourage even growth.
For a more dramatic shape, like a rounded top, trim the very tips of the stems in a gentle curve. Avoid cutting more than one-third of the plant’s height at once—this can stress the cordyline. After shaping, give your plant a light misting to help it recover from the pruning. Watch closely over the next few weeks; you’ll see new shoots emerging from the base or along the stems, signaling that your pruning was successful.
Clean Up and Encourage New Growth
Once you’ve finished pruning, it’s time to tidy up. Collect all the clippings and dispose of them properly—don’t leave them near the plant, as they can harbor pests or diseases. I like to sterilize my pruning shears with rubbing alcohol between cuts to keep everything sanitary. After cleaning up, give your cordyline a balanced, water-soluble fertilizer to support its recovery and encourage new growth.
Water your plant thoroughly after pruning, but avoid overwatering—the roots need time to adjust. Place your cordyline in a spot with bright, indirect light for a few days to help it recover. You’ll notice new leaves emerging within 4-6 weeks, and your plant will start to fill out beautifully. This is the moment that matters: patience now means a lush, vibrant cordyline for months to come.
Tips & tricks for pruning cordyline plants
Pruning your cordyline doesn't have to be intimidating—these key strategies will help you achieve professional results while keeping your plant healthy and thriving.
Precision Cutting Technique: When making those 45-degree angle cuts about ¼ inch above a leaf node in Step 1, use a sharp, clean pair of pruning shears to avoid crushing the stems. I find that making small test cuts first helps me get the angle just right. This technique isn't just about looks—it prevents water from pooling on the cut, which could lead to rot. If you're unsure about a cut, wait a day or two to see if the stem responds to watering before deciding whether it's truly dead.
Visual Stem Assessment: For Step 2's thinning process, remember that healthy stems should feel firm and springy when gently squeezed. If you're removing one-third of the oldest or weakest stems, focus on those that are thinner than a pencil or leaning dramatically. A quick trick I use is to hold stems up to a bright light—healthy stems will have a clear, consistent color throughout, while dead or dying stems often show dark spots or hollow centers. This visual check saves me from making unnecessary cuts.
Strategic Shaping: In Step 3, when shaping your plant, resist the urge to over-prune. Cutting more than one-third of the plant's height at once can shock your cordyline. Instead, think of shaping as sculpting—focus on the tallest stems first, and gradually work your way to shorter ones. For a more dramatic look, trim the tips of stems in a gentle curve, but always leave at least a few inches of growth to maintain the plant's structure. This approach encourages branching while keeping your cordyline's natural form intact.
Post-Pruning Care: After you've completed all four steps, the recovery phase is just as important as the pruning itself. When you give your plant a light misting, do so in the early morning to allow excess moisture to evaporate during the day. Placing your cordyline in bright, indirect light for a few days helps it recover without stressing the newly exposed stems. I've found that patience pays off—those new leaves emerging within 4-6 weeks are a clear sign that your efforts were successful.
Pro Tips for Pruning Cordyline Plants
- Pruning your cordyline doesn't have to be intimidating—these key strategies will help you achieve professional results while keeping your plant healthy and thriving.
- Precision Cutting Technique: When making those 45-degree angle cuts about ¼ inch above a leaf node in Step 1, use a sharp, clean pair of pruning shears to avoid crushing the stems.
- Visual Stem Assessment: For Step 2's thinning process, remember that healthy stems should feel firm and springy when gently squeezed.
Frequently asked questions
Got questions about keeping your Cordyline plants lush and healthy? Here are answers to the most common queries—because even pros need a little guidance now and then!
When is the best time to prune Cordyline plants?
The ideal time is late winter or early spring, just before new growth begins. This timing encourages fresh, vibrant foliage while avoiding stress during dormancy. Avoid heavy pruning in summer—it can expose plants to heat stress. For minor trims (like removing dead leaves), anytime is fine!
How do I prune a Cordyline without killing it?
Use sterilized, sharp pruners to make clean cuts at a 45-degree angle, about ¼ inch above a leaf node or bud. Never prune more than 1/3 of the plant at once. If you’re unsure, start with small cuts and monitor the plant’s response. Over-pruning is the #1 killer—go slow!
Can I propagate Cordyline from pruned cuttings?
After pruning, save healthy cuttings (with at least 2-3 nodes) and let them callus over for 1-2 days. Plant them in well-draining soil and keep them lightly moist. Roots should form in 4-6 weeks. Pro tip: Use a rooting hormone to boost success rates!
What should I do if my Cordyline looks leggy after pruning?
Leggy growth happens when the plant stretches for light. To fix it:
- Move it to bright, indirect light (but avoid harsh sun).
- Fertilize lightly with a balanced liquid fertilizer (10-10-10) every 4-6 weeks.
- Rotate the pot quarter-turn weekly for even growth.
Are there any pruning mistakes I should avoid?
Watch out for these common blunders:
- Dull or dirty tools—they crush stems and invite disease. Sterilize with rubbing alcohol!
- Pruning too close to the base—leave nodes or buds to regrow.
- Ignoring pests or disease before pruning. Treat first, then trim!
- Overwatering after pruning—let the plant recover for a few days.
Wrapping up and next steps
Pruning your Cordyline plants doesn’t have to be intimidating—with the right tools, timing, and techniques, you can keep them thriving year-round! 🌿 Whether you’re shaping for aesthetics, encouraging new growth, or maintaining health, these three precision cuts will transform your plants into lush, vibrant showstoppers.
Remember, consistency is key, and a little effort goes a long way.
Now that you’re armed with expertise, grab those shears and get pruning! 🌟 For extra confidence, snap a photo of your before-and-after results and share them with fellow gardening enthusiasts. Happy trimming—and may your Cordyline continue to dazzle! 🌈