
Pruning
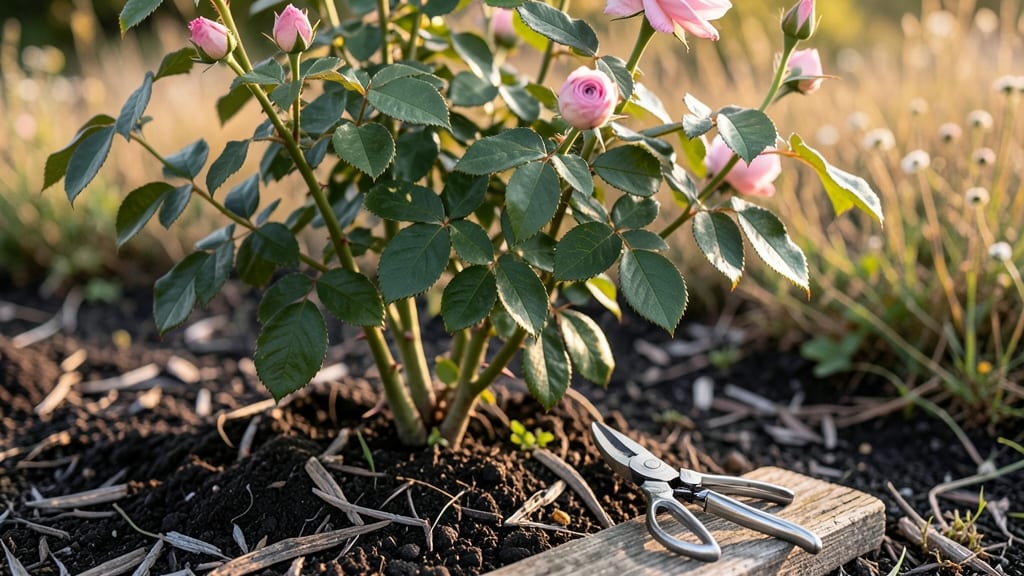
Pruning a plant isn’t just about hacking away at overgrown branches—it’s the secret to keeping your garden thriving year-round. ✨ I’ve turned my own struggling bushes into lush, productive plants by mastering just three strategic cuts, and you can too.
The key is understanding when and why to prune, not just how.
You’ll need sharp pruners, rubbing alcohol for sterilizing cuts, and a clear goal for each plant—whether it’s shaping, encouraging blooms, or removing dead wood. Most people over-prune in spring, but the real magic happens in late winter or early summer when plants are actively growing.
Even a small adjustment now means stronger stems and more flowers by next season.
After pruning, your plants will bounce back faster than you think. New growth appears within weeks, and the right cuts actually reduce disease risk by improving airflow.
The trick is cutting at the right angle and avoiding jagged edges that invite pests. You’ll end up with plants that look intentional, not just overgrown.
This method works for shrubs, flowering plants, and even fruit trees—just adjust the timing and technique. Let’s get your garden looking its best with cuts that matter, not just random snips.
📚 In This Guide
- What you need
- Instructions
- Tips and common mistakes
- Wrapping up and next steps
What you need
- ● Pruning shears: Bypass pruners (for clean cuts on small branches, ¼"–½" diameter) or anvil pruners (for thicker branches, up to ¾"). Quantity: 1 pair.
- ● Loppers: For branches ½"–2" in diameter. Quantity: 1 pair (long-handled for reach).
- ● Pruning saw: For branches thicker than 2". Quantity: 1 (with a fine-tooth blade for clean cuts).
- ● Garden gloves: Heavy-duty, cut-resistant (e.g., mechanized or leather gloves). Quantity: 1 pair.
- ● Disinfectant: 70% isopropyl alcohol or a 10% bleach solution (1 part bleach to 9 parts water) to sterilize tools between cuts. Quantity: Small bottle or spray.
- ○ Sharpie or masking tape: For marking branches (optional but helpful for tracking cuts).
- ● Hand pruners: Compact shears for precision trimming on tiny branches (e.g., roses or bonsai).
- ● Extension pole: For high branches (e.g., tree pruning saw or shears).
- ● Sealing wax: To coat cuts on large branches (prevents disease entry).
- ● Pruning sealant: For woody plants like fruit trees (e.g., Tanglefoot Pruning Sealer).
- ● Safety glasses: If working with large branches or near power lines.
- ● Notebook or app: To log pruning dates, branch locations, and plant responses (e.g., Gardenate or iNaturalist).
How to prune a plant for healthier growth
Here's the straightforward method I use to keep plants thriving all year.
✂️ Step 1: Gather the Right Tools
Start with sharp, clean tools—dull blades tear stems and invite disease. I always use bypass pruners for branches under ¼ inch thick and loppers for thicker stems. A small sterilizing solution (1 part bleach to 9 parts water) keeps blades pathogen-free between cuts.
Wear gloves too—some plants like roses have thorns, and others like boxwood can cause skin irritation. Check your tools before you begin: if the blades don't cut cleanly through a piece of paper, they're too dull to use. A quick sharpening now saves frustration later.
🌿 Step 2: Identify the Right Cuts
Look for three types of cuts: dead or diseased branches, crossing or rubbing branches, and overcrowded growth. Dead wood is easy to spot—it's brown, brittle, and doesn't bend when you test it. Remove these first to prevent pests and disease from spreading.
Next, find branches that cross or rub against others. These create wounds where pathogens can enter. Cut the smaller of the two branches at its base, making the cut just outside the branch collar—the swollen area where the branch meets the trunk. This ensures the plant seals the wound properly.
✂️ Step 3: Make Clean, Precise Cuts
Angle your cuts slightly above a leaf node or bud, about ¼ inch above. This encourages new growth in the right direction. For larger branches, make a small notch on the underside first to prevent the branch from tearing when you complete the cut.
Never leave stubs—this stresses the plant and invites rot. If you're shaping a hedge or shrub, cut just outside the desired shape. For flowering plants, prune right after they bloom to encourage next year's flowers. You'll see a noticeable difference in growth vigor within weeks.
💧 Step 4: Clean Up and Monitor
After pruning, remove all debris from the area—this prevents fungal spores from lingering. I like to sterilize my tools again after finishing, especially if I've worked with multiple plants. Water the plant deeply to help it recover from the stress of pruning.
Watch the plant closely for the next few weeks. New growth should appear within 2-4 weeks, depending on the plant type. If you see yellowing leaves or wilting, it might be overpruned—just give it time and consistent care. Proper pruning makes plants stronger, not weaker.
Tips & tricks for perfect plant pruning
A few simple tricks can transform your pruning from basic maintenance to a growth-boosting ritual. Here's what I've learned after years of shaping everything from roses to fruit trees.
Tool Prep is Everything: Before you even touch a branch, take 5 minutes to sharpen your tools. I test my pruners by cutting a piece of paper—if it tears instead of cleanly slicing, it's time to sharpen. A quick wipe-down with your sterilizing solution between cuts prevents spreading disease from one plant to another. I keep a small spray bottle of the bleach solution nearby for quick cleanups.
The ¼-Inch Rule for New Growth: When making cuts above leaf nodes or buds in Step 3, that ¼-inch measurement isn't arbitrary. It's the sweet spot where new growth emerges without creating a weak attachment point. For larger branches, that small notch you make on the underside acts like a hinge—it prevents the bark from tearing when you complete the cut. I've seen too many plants develop ugly tears from impatient cuts.
Seasonal Timing Matters: While the instructions cover general pruning, timing varies by plant type. Spring-flowering shrubs like lilacs should be pruned right after they bloom, while summer-bloomers like roses can wait until after their main flowering period. For fruit trees, late winter (before buds swell) is ideal. I mark my calendar with these seasonal reminders to avoid pruning at the wrong time.
Debris Management Prevents Problems: That pile of pruned branches and leaves you're about to toss? Don't just leave it under the plant. I collect all debris in a bag and dispose of it properly—composting is fine, but diseased branches should go in the trash. Fungal spores can survive on fallen leaves and reinfect your plant. A quick sweep of the area with a broom completes the cleanup.
Pro Tips for Prune A Plant
- A few simple tricks can transform your pruning from basic maintenance to a growth-boosting ritual.
- Tool Prep is Everything: Before you even touch a branch, take 5 minutes to sharpen your tools.
- The ¼-Inch Rule for New Growth: When making cuts above leaf nodes or buds in Step 3, that ¼-inch measurement isn't arbitrary.
Frequently asked questions
Got questions about pruning? You’re not alone—even experienced gardeners need a quick refresher now and then! Here are some of the most common questions (and answers) to help you prune like a pro.
When is the best time to prune my plant?
The ideal time depends on your plant! For spring bloomers (like roses or lilacs), prune right after flowering. For summer bloomers (like hydrangeas), wait until after the first flush of flowers. Evergreens and fruit trees often need pruning in late winter or early spring before new growth starts. Always avoid heavy pruning during extreme heat or cold.
Can I prune too much at once?
Yes—over-pruning can stress your plant, leaving it vulnerable to pests, disease, or even death. A general rule: Never remove more than 25-30% of the plant’s foliage in one session. For trees, avoid cutting back more than one-third of the canopy annually. When in doubt, prune lightly and monitor your plant’s recovery.
What if my plant doesn’t look right after pruning?
Don’t panic! Some plants need time to adjust. If you see yellowing leaves, wilting, or no new growth, you might’ve pruned too aggressively or at the wrong time. Check for clean cuts (no jagged edges) and ensure you’re not leaving stubs. Water deeply and keep an eye on it—most plants bounce back in a few weeks.
Do I need special tools for pruning?
Basic tools like bypass pruners, loppers, and a pruning saw cover most jobs, but the right tool depends on the plant. For small branches, use pruners; for thicker stems, loppers or a saw work best. Sterilize tools with rubbing alcohol between cuts to prevent disease spread. Sharp, clean tools make pruning easier and safer!
What’s the difference between pruning and trimming?
Pruning is strategic—it removes dead, diseased, or overgrown branches to improve health, shape, or encourage growth. Trimming is more cosmetic, like shaping hedges or topiaries for neatness. Think of pruning as a health checkup and trimming as a haircut!
Wrapping up and next steps
Pruning isn’t just about trimming—it’s the secret to healthier, bushier, and more productive plants year-round! 🌿 Whether you’re shaping roses, reviving herbs, or training vines, the right cuts at the right time unlock your plant’s full potential.
Now that you’ve mastered the when, why, and how, grab those shears and get growing!
Ready to take it further? Experiment with a single plant—try a different pruning style or timing to see the results firsthand. Happy pruning!