
Pruning
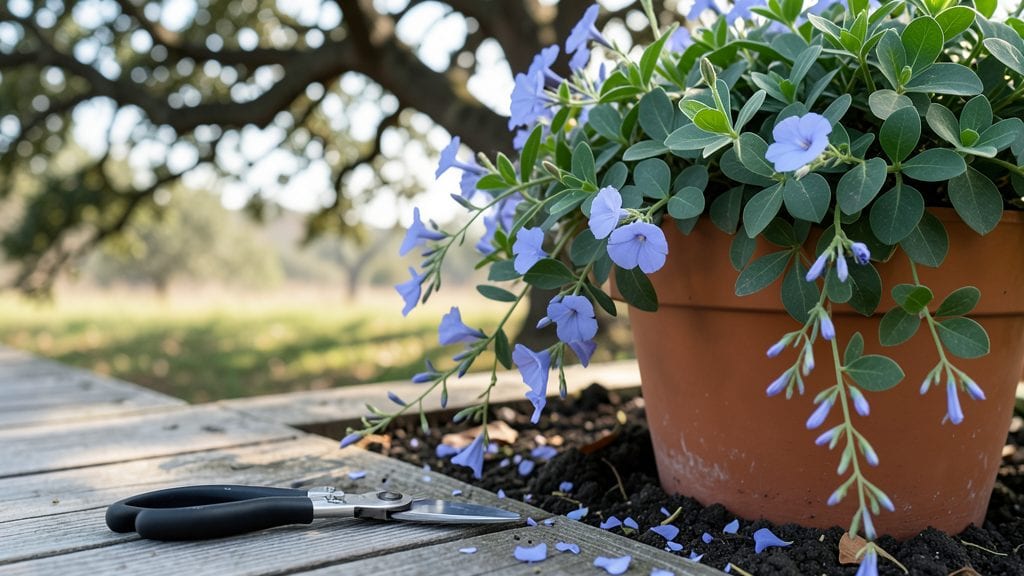
Pruning plumbago plants three times a year unlocks a cascade of vibrant blue blooms that keep pouring from spring through fall. ✨ I’ve learned the hard way that skipping these cuts means leggy stems and fewer flowers—my first plumbago looked like a tangled mess by summer.
The secret isn’t just when you cut, but how: snipping at the right growth points and timing each trim to match the plant’s natural rhythm.
You’ll need just three tools: sharp pruners for clean cuts, gloves to protect your hands from thorns, and a bucket to collect clippings (they make great compost).
The real work happens in three key moments: right after spring blooms fade, mid-summer when growth slows, and a light cleanup in early winter before new shoots emerge. Each trim takes about 10 minutes—easy, but transformative for your plant’s shape and flower power.
After just one season of proper pruning, my plumbago went from sparse blooms to nearly nonstop flowers, with stems thick enough to support the weight. The plant stays compact, resists flopping in summer heat, and even blooms a little in winter if you’re in a mild climate.
The best part? You’ll spend less time deadheading spent blooms because the pruning itself encourages fresh growth.
Works for both container plumbago and in-ground plants, and the same principles apply whether you’re in a hot desert zone or a coastal climate. Here’s how to get started without over-trimming or leaving too much behind—no guesswork, just results.
📚 In This Guide
- What you need
- Instructions
- Tips and common mistakes
- Wrapping up and next steps
What you need
- ● Pruning shears: Bypass pruners (sharp, clean, and sterilized with rubbing alcohol to prevent disease). Size: 5–7 inches for precision.
- ● Hand pruners: For smaller stems (avoid dull blades—they crush instead of cut!). Quantity: 1 pair.
- ● Garden gloves: Heavy-duty, cut-resistant (protects hands from thorns and sap). Material: Nitrile-coated.
- ● Disinfectant: 70% isopropyl alcohol or bleach solution (1 part bleach to 9 parts water). Use: Wipe tools between cuts.
- ● Rake or small broom: For clearing fallen debris post-prune.
- ○ Pruning saw (optional): Only if dealing with thick, woody stems (rare for most Plumbago varieties).
- ● Weather check: Prune on a dry, overcast day (avoid midday heat or rain within 24 hours).
- ● Watering schedule: Water the plant 1–2 days before pruning to reduce stress.
- ○ Safety gear (optional but wise): Sunscreen (if working in full sun).
- ● Long sleeves/pants (to avoid sap irritation).
- ● Clean workspace: Lay down a tarp or old blanket to catch clippings.
How to prune plumbago for continuous flowering
Here's the seasonal rhythm I've used for years to keep my plumbago blooming nonstop.
✂️ Step 1: Early Spring Renewal Cut (Late February)
Right as new growth begins—you'll spot fresh green shoots pushing through—grab your pruners and cut back all stems to about 6 inches tall. This is your chance to shape the plant while it's still dormant. I like to make cuts just above a leaf node or bud, which encourages bushier growth.
Remove any dead, brown, or diseased stems completely. If you see any leggy growth from last year, trim those back too. The goal is to stimulate fresh, vigorous growth from the base. After pruning, give your plumbago a light feeding with balanced fertilizer (10-10-10) to support the new flush of leaves.
✂️ Step 2: Mid-Season Blooming Boost (June)
When you notice the first signs of slowing blooms—fewer flowers and more bare stems—it's time for your second trim. Cut back about one-third of the plant's height, focusing on the oldest stems first. This encourages new growth that will produce fresh flowers.
After pruning, water deeply to help the plant recover. I like to trim in the morning so any new cuts have time to dry before evening dew settles. This reduces the risk of fungal issues. You'll see new buds forming within 2-3 weeks, and your plumbago will burst into another round of vibrant blooms.
✂️ Step 3: Late Season Rejuvenation (October)
As temperatures begin to drop and blooms slow down, give your plumbago a final trim. Cut back all stems by about half their height to prepare for winter. This helps the plant focus energy on root development rather than maintaining foliage.
Remove any remaining flowers and any stems that look weak or diseased. After pruning, reduce watering gradually over the next 2 weeks to prepare the plant for dormancy. In colder climates, you may need to protect your plumbago with a thick layer of mulch or move potted plants to a sheltered location.
🌿 Step 4: Light Year-Round Maintenance
Throughout the year, keep an eye out for any stems that grow too long or become bare. Snip these back to maintain a compact shape and encourage more blooms. I like to do a quick check every 4-6 weeks to remove any spent flowers and trim any leggy growth.
Plumbago thrives on regular pruning, so don't be afraid to get your hands involved. The more you maintain it, the more it will reward you with continuous, vibrant blooms. Just remember to always use clean, sharp pruners to make clean cuts that heal quickly.
Tips & tricks for pruning plumbago like a pro
Mastering the art of pruning plumbago transforms it from a seasonal bloomer to a year-round showstopper. These insider tricks will help you keep your plant thriving and flowering continuously.
Tool Prep Matters: Before you start, sterilize your pruners with rubbing alcohol to prevent spreading disease between cuts. I always wipe them down between plants, especially when working with multiple plumbagos. Sharp tools make clean cuts that heal faster, so take a minute to hone your blades if they feel dull. This simple step makes all the difference in your plant's recovery and growth response.
Seasonal Timing Secret: The specific timing in Step 1 (late February) and Step 2 (June) is crucial because it aligns with plumbago's natural growth cycles. In Step 1, you're cutting just as the plant begins its spring growth spurt—this encourages bushier, more compact growth. For Step 2, the mid-season boost happens when your plant naturally starts slowing down, giving it a fresh burst of energy right when it needs it most.
Visual Cues for Pruning: When deciding what to trim in Step 4's year-round maintenance, look for stems that are more than 12 inches long or have lost their lower leaves. These are your visual signals to prune. I also watch for stems that lean away from the center—they're competing with other growth for sunlight and should be trimmed back to encourage a fuller plant shape.
Fertilizer Strategy: After your early spring pruning (Step 1), that light feeding with 10-10-10 fertilizer gives your plumbago exactly what it needs to recover and grow vigorously. I like to apply it in the morning when the plant can absorb it before the heat of the day. This timing helps prevent fertilizer burn while supporting the new growth you're encouraging with your pruning.
Pro Tips for Plumbago Plant Pruning
- Mastering the art of pruning plumbago transforms it from a seasonal bloomer to a year-round showstopper.
- Tool Prep Matters: Before you start, sterilize your pruners with rubbing alcohol to prevent spreading disease between cuts.
- Seasonal Timing Secret: The specific timing in Step 1 (late February) and Step 2 (June) is crucial because it aligns with plumbago's natural growth cycles.
Frequently asked questions
Got questions about keeping your Plumbago looking its best? Here are some of the most common concerns—plus expert tips to tackle them like a pro!
When is the best time to prune Plumbago for maximum blooms?
Prune your Plumbago three times a year: late winter (to shape and remove dead growth), early summer (after the first flush of blooms), and late summer (to encourage a final autumn display). Avoid pruning in fall—new growth won’t harden off before winter!
How much can I cut back my Plumbago without harming it?
You can prune up to ⅓ of the plant’s height in one session, but avoid drastic cuts. For woody stems, trim just above a leaf node or bud to encourage bushier growth. Never remove more than half at once—this stresses the plant and may reduce flowering.
What if my Plumbago doesn’t bloom after pruning?
Poor blooming often stems from over-pruning in fall or lack of sunlight. Ensure it gets 6+ hours of sun daily and fertilize lightly in spring with a balanced 10-10-10 formula. If growth is leggy, prune selectively to redirect energy to flowering.
Can I propagate Plumbago from my pruned cuttings?
Softwood cuttings
(4–6 inches) from spring/summer pruning root easily in sandy potting mix with a rooting hormone. Keep them humid and warm (70–75°F) until roots form (4–6 weeks). Avoid fall cuttings—they struggle to establish before winter.
Why are my Plumbago leaves turning yellow after pruning?
Yellowing leaves usually mean overwatering or nutrient stress. Let the soil dry 2–3 inches deep between waterings and flush the roots with water to prevent salt buildup. If yellowing persists, test soil pH (6.0–7.0 is ideal) and amend with compost.
Wrapping up and next steps
Pruning your plumbago plant isn’t just about keeping it tidy—it’s the secret to year-round blooms and a thriving shrub! By mastering the three seasonal trims (spring, summer, and late fall), you’ll encourage lush growth, vibrant flowers, and a well-shaped plant that steals the show in your garden. 🌸
Ready to take the next step? Grab your pruners, review your notes, and schedule those trims like a pro. With a little patience and care, your plumbago will reward you with stunning, continuous blooms for seasons to come!