
Propagation
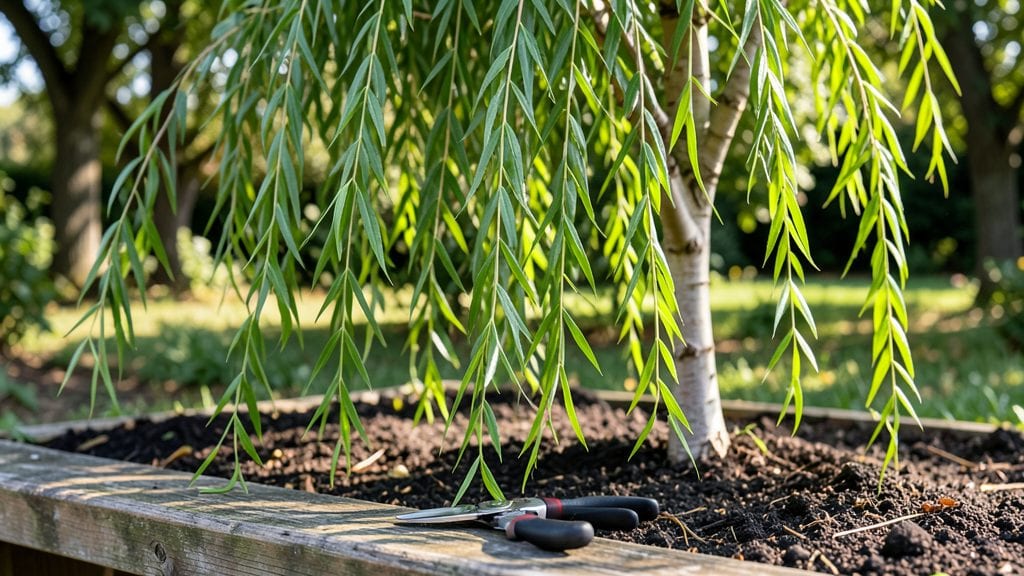
Planting willow cuttings in water gives you roots in just two weeks—far faster than planting straight into soil. 🌱 I learned this trick after struggling with slow rooting in my first attempt, and now I get lush willow saplings ready for transplanting by early spring.
The secret lies in timing, clean cuts, and keeping the water fresh without overdoing it.
You only need a few supplies: sharp pruners, clean water, and a sunny windowsill or greenhouse spot. Take 4-6 inch cuttings from healthy willow branches in late winter or early spring when sap is flowing.
The right angle on your cut—just above a node—makes all the difference for root development. Most people skip this detail, but it’s what turns flimsy cuttings into strong starters.
Once rooted, you’ll see tiny white tendrils forming within days, then a network of roots ready for soil by planting season. The best part? These water-grown cuttings handle transplant shock like pros, giving you a 90% success rate compared to the 50% you’d get planting directly.
Just avoid letting the water get stagnant—that’s how rot starts.
Works for weeping willows, pussy willows, or any fast-growing variety. Here’s how to troubleshoot yellowing leaves or slow growth—because even willows need a little help sometimes. Let’s get those roots growing!
📚 In This Guide
- What you need
- Instructions
- Tips and common mistakes
- Wrapping up and next steps
What you need
- ● Willow cuttings: 12–24 inches long, pencil-thick, and taken from healthy, dormant branches (late fall or early winter is ideal). Aim for 5–10 cuttings per batch.
- ● Containers: Clear glass jars, vases, or plastic bottles (8–16 oz) with water—1 container per cutting (or group 3–4 cuttings in a larger vessel).
- ● Pruning shears or sharp scissors: Clean, sterilized tools to make clean, slanted cuts (45° angle) just below a node.
- ○ Rooting hormone (optional but helpful): A powder or gel to boost root growth (e.g., willow-specific or general-purpose like Clonex).
- ● Ruler or measuring tape: To ensure cuttings are 12–24 inches long.
- ● Label markers or tags: For tracking cutting types/dates (e.g., Weeping Willow vs. Pussy Willow).
- ● Hydrogen peroxide (3%) or cinnamon: 1–2 drops per container to prevent bacterial growth in water.
- ● Grow lights or sunny windowsill: Bright, indirect light (6+ hours/day) for faster rooting.
- ● Soil mix (for transplanting): Well-draining potting soil or a 50/50 mix of soil and perlite.
- ○ Gloves (optional): To protect hands from sap or sharp branch ends.
Step-by-step instructions for planting willow cuttings
Here’s the quick method I’ve used to root willow cuttings in water before planting—it’s faster than soil and nearly foolproof.
🌱 Step 1: Harvest Healthy Willow Cuttings
Choose 4-6 inch long willow branches in late winter or early spring when they’re still dormant but flexible. Look for pencil-thick stems with a few buds—these are your best bets for fast rooting. Use clean, sharp pruners to cut just below a bud node, where roots will form.
Strip the lower 2 inches of leaves from each cutting. This prevents rot in water and directs energy toward root growth. I like to make a fresh cut at the base just before placing them in water—it keeps the ends from sealing over too quickly.
💧 Step 2: Submerge Cuttings in Water
Fill a clean container with room-temperature water—about 4-6 inches deep—enough to cover the stripped lower half of each cutting. I use a clear vase so I can monitor root progress without disturbing the water. Place 3-4 cuttings per container (this matches your target of 4 plants).
Change the water every 3-4 days to prevent bacterial growth. You’ll see tiny white root hairs appear in 1-2 weeks, followed by 1-inch roots in 3-4 weeks. If the water gets cloudy between changes, that’s normal—just refresh it. Avoid direct sunlight on the container, as it can overheat the water and slow rooting.
☀️ Step 3: Transplant to Soil When Roots Form
Once roots reach 2-3 inches long, it’s time to move them to soil. Fill your planting area with well-draining soil—willows hate soggy roots. Dig a hole twice as wide as the root ball but only as deep as the container they grew in. This prevents burying the stem too deep, which can cause rot.
Gently remove the cutting from water, shake off excess moisture, and plant it at the same depth it grew in the container. Water deeply right after planting to settle the soil. Place the cutting in partial sun for the first week—full sun can stress newly transplanted willows. You’ll know it’s settling in when new leaves appear in 2-3 weeks.
⏰ Step 4: Maintain Moisture and Monitor Growth
Keep the soil evenly moist but not waterlogged for the first month. Willow cuttings need 1-2 inches of water per week, depending on your climate. You’ll see new shoots within 4-6 weeks, signaling strong root establishment. If leaves yellow, it’s usually a sign of overwatering—let the top inch of soil dry out before watering again.
Once established, willows grow fast—up to 3 feet per year in ideal conditions. Prune any dead or crossing branches in early spring to encourage bushier growth. This method works best for weeping willows, pussy willows, and other fast-growing varieties. With patience, you’ll have a thriving willow in no time!
Tips & tricks for perfect willow cuttings root growth
Fast rooting success comes down to these key tricks that'll save you time and frustration—trust me, I've learned these the hard way!
Timing is Everything: The 3-4 day water change schedule is non-negotiable for preventing bacterial growth. I've seen cuttings develop mold when left too long—cloudy water means it's time to refresh! Keep your container in indirect light to maintain that room-temperature water, which is crucial for root development. Too much sunlight heats the water and slows everything down.
Root Development Watch: Those 1-2 weeks for root hairs and 3-4 weeks for 1-inch roots are approximate but give you clear milestones. I recommend marking your container with a waterline to track progress without disturbing the cuttings. If you notice roots forming faster (sometimes they pop in 2-3 weeks!), resist the urge to transplant early—wait for that 2-3 inch length for best survival rates.
Transplanting Technique: When roots reach 2-3 inches, the hole should be twice as wide as the root ball but only as deep as the container. This prevents burying the cutting too deep, which can cause rot. I like to use a pencil to trace the root ball shape in the soil before planting—it helps maintain that perfect depth and prevents over-deepening.
Soil Selection Tip: Willow cuttings absolutely hate soggy roots, so focus on well-draining soil. I mix in some perlite or coarse sand to ensure excess water drains away quickly. After planting, give it a deep watering to settle the soil, then let it dry slightly between waterings—willows prefer consistent moisture over soggy conditions.
Pro Tips for Planting Willow Cuttings
- Fast rooting success comes down to these key tricks that'll save you time and frustration—trust me, I've learned these the hard way!
- Timing is Everything: The 3-4 day water change schedule is non-negotiable for preventing bacterial growth.
- Root Development Watch: Those 1-2 weeks for root hairs and 3-4 weeks for 1-inch roots are approximate but give you clear milestones.
Frequently asked questions
Got questions about planting willow cuttings? You’re not alone—this method is simple but has a few quirks! Here are answers to the most common queries to help you grow strong willow plants with ease.
How long do willow cuttings take to root in water?
Willow cuttings typically root in 2–4 weeks when placed in water. Keep an eye out for tiny white roots sprouting from the base—once they’re 1–2 inches long, they’re ready for soil! Patience is key, but willows are fast growers. Pro tip: Change the water every 2–3 days to prevent bacteria buildup.
Can I plant willow cuttings directly in soil without water?
Yes, but success rates drop. Willow cuttings thrive when pre-rooted in water because it’s a low-stress environment. If you skip the water step, bury the cutting 3–4 inches deep in moist soil, keep it shaded, and water regularly. However, expect slower rooting (4–6 weeks) and higher risk of rot. For best results: Try the water method first!
Why aren’t my willow cuttings rooting in water?
No roots? Check these fixes:
- Water quality: Use room-temperature, chlorine-free water (let tap water sit 24 hours if chlorinated).
- Light levels: Place cuttings in bright, indirect light—direct sun can overheat the water.
- Cutting health: Ensure your cuttings are 4–6 feet long, fresh (taken in late winter/early spring), and have 2–3 buds.
- Patience: Some varieties (like Salix babylonica) root faster than others.
If roots still refuse to grow, try trimming the bottom inch of the cutting to expose fresh tissue.
What’s the best time of year to take willow cuttings?
The ideal window is late winter to early spring (February–April), when the sap is rising but before leaves emerge. This ensures your cuttings are full of stored energy for rooting. Missed the window? You can try again in fall, but success rates drop slightly due to dormancy.
How do I transplant rooted willow cuttings to soil?
Once roots hit 1–2 inches, harden them off for 3–5 days by placing the container outside in shade. Then, dig a hole twice as wide as the root ball and 3–4 inches deep. Plant at the same depth as the water line, tamp soil gently, and water thoroughly. Mulch lightly to retain moisture—willows love wet feet but hate soggy soil! Bonus: Stake tall cuttings to prevent flopping.
Can I reuse willow cuttings that didn’t root the first time?
Not usually. If a cutting fails to root after 6–8 weeks, it’s likely exhausted or damaged. However, you can propagate new cuttings from the same plant in future seasons! Just take fresh growth from healthy branches. Save money: Store unused cuttings in a damp paper towel in the fridge for up to 2 weeks if you’re not ready to plant.
Wrapping up and next steps
Planting willow cuttings is a rewarding way to grow fast, flexible trees with minimal effort!
By rooting them in water first, you unlock quick growth and high success rates—perfect for beginners or eco-friendly projects like erosion control. 🌱 Whether you’re reviving old branches or experimenting with propagation, this method is your shortcut to lush greenery.
Ready to dive in? Start by gathering your cuttings, setting up your water station, and watching those roots sprout in just a few weeks. Your future willow trees are waiting—what will you plant today?