Trees
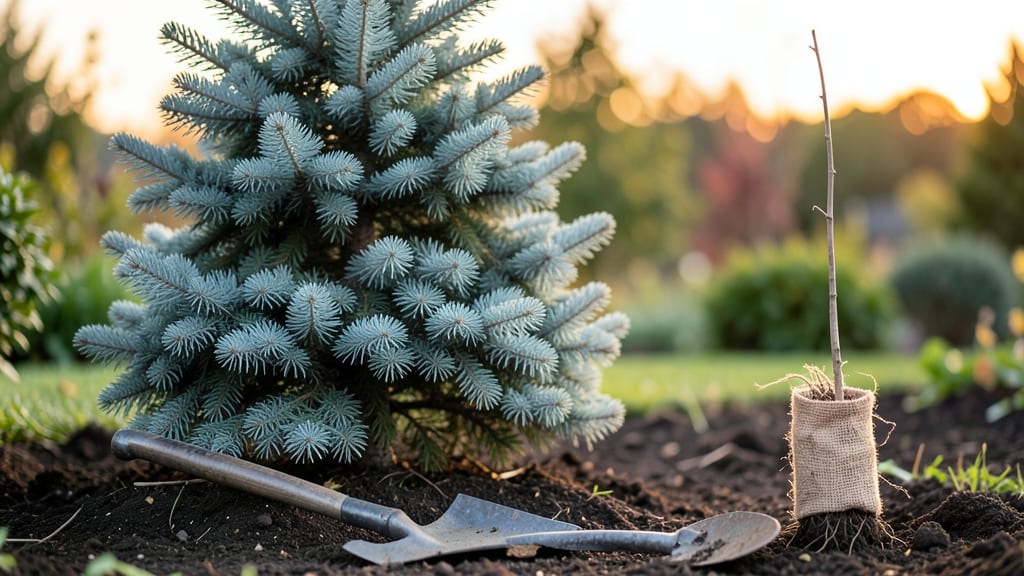
Planting evergreen trees is the foundation of a backyard that stays green year-round. 🌲 I learned the hard way that skipping soil prep or planting at the wrong time means struggling with stunted growth for years—so I’ve perfected a foolproof method that works for pines, spruces, and firs alike.
The key isn’t just digging a hole; it’s about matching the tree’s needs to your soil, sunlight, and climate from day one.
Timing matters most: plant in early fall or late winter when the ground is workable but not frozen. My go-to soil mix blends native dirt with compost and a handful of slow-release fertilizer—just enough to give roots a nutrient boost without overwhelming them.
For saplings, look for straight trunks, flexible branches, and healthy buds; anything else risks weak growth down the line.
After planting, water deeply once a week for the first year, letting the soil settle into a damp-but-not-soggy consistency. Evergreens hate soggy roots, but they also can’t handle drought stress.
Within months, you’ll see new growth where the old needles meet the trunk—a sure sign your tree is thriving. The payoff? A shady corner that stays lush even in winter.
This method adapts to zones 5-8, whether you’re planting a single specimen or a windbreak line. The only rule? Don’t rush it—evergreens grow slow but last decades. Now, let’s get those roots settled right.
📚 In This Guide
- What you need
- Instructions
- Tips and common mistakes
- Wrapping up and next steps
What you need
- ● Evergreen tree seedlings or saplings: Choose 1-3 healthy, disease-free specimens (species like Pinus, Juniperus, or Thuja work well). Size depends on your needs—smaller for quick growth, larger for instant impact.
- ● High-quality potting soil or native soil mix: At least 2-3 cubic yards (for 1-3 trees). Amend with compost (1 part compost to 3 parts soil) for nutrients.
- ● Organic mulch (pine straw, wood chips, or bark): 2-3 inches to retain moisture and suppress weeds. Cover an area 3 feet wide around the base of each tree.
- ● Shovel or digging spade: A heavy-duty garden spade (16-18 inches) for digging holes or a post-hole digger for larger saplings.
- ● Wheelbarrow or bucket: For mixing soil and hauling materials.
- ● Watering can or hose with a gentle spray nozzle: Essential for post-planting hydration.
- ○ Tree stakes (optional but recommended for young trees): 2-4 stakes per tree (2-3 feet tall) + tree ties or soft fabric strips to secure without damaging the trunk.
- ● Pruning shears or loppers: For trimming dead branches or shaping the tree after planting.
- ● Soil pH test kit: Evergreens prefer slightly acidic soil (pH 5.0-7.0). Adjust with lime (to raise pH) or sulfur (to lower pH) if needed.
- ● Slow-release fertilizer (10-10-10 or balanced formula): 1-2 pounds per tree mixed into the planting hole for a nutrient boost.
- ● Root stimulator or mycorrhizal fungi: Enhances root growth and soil health.
- ● Drip irrigation system or soaker hose: Automates watering for young trees during dry spells.
- ● Tree guard or protective barrier: Shields saplings from pets, wildlife, or lawn equipment.
- ● Gloves and knee pads: Because comfort (and clean hands) matter! 😉
Step-by-Step instructions for planting evergreen trees
Here's how to plant evergreens that'll thrive for decades with minimal fuss.
🌱 Step 1: Choose the Right Spot and Dig the Hole
Evergreens need full sun to partial shade—at least 6 hours of sunlight daily—but avoid harsh afternoon sun in hot climates. Test the spot by observing how sunlight moves across it throughout the day. The hole should be twice as wide as the root ball but only as deep. Digging too deep can suffocate roots by trapping moisture.
Loosen the soil at the bottom of the hole with a shovel or your hands. This helps roots spread outward instead of circling the root ball. Break up any compacted layers—evergreens hate restricted roots. If your soil drains poorly, mix in 2-3 inches of coarse sand or perlite at the bottom to improve drainage.
🪴 Step 2: Prepare the Root Ball and Position the Tree
Remove the tree from its container and gently loosen the root ball at the edges with your fingers. If the roots are circling tightly, use a knife to make 2-3 vertical cuts around the perimeter to encourage outward growth. Never pull or force the tree—evergreens are sensitive to root damage.
Place the tree in the hole so the top of the root ball sits 1-2 inches above ground level. This prevents water from pooling around the trunk, which causes rot. Check the depth by holding the tree upright—it should sit naturally without tilting. If the hole feels too deep, add a layer of soil to the bottom before positioning the tree.
💧 Step 3: Backfill and Water Thoroughly
Fill the hole with the soil you removed, tamping it down gently in 2-inch layers to eliminate air pockets. Avoid compacting too firmly—you want roots to push through easily. Once the hole is 2/3 full, water the tree deeply to settle the soil. Let the water soak in completely before adding the final layer.
Finish backfilling and create a 2-inch-wide watering basin around the base by mounding soil outward. This directs water straight to the roots. Water again until the soil is saturated to a depth of 12 inches. Overwatering now is better than underwatering—evergreens need consistent moisture to establish.
☀️ Step 4: Mulch and Protect for Long-Term Health
Spread 2-3 inches of mulch (like pine straw or wood chips) over the soil surface, keeping it 6 inches away from the trunk. Mulch retains moisture and regulates soil temperature, but too much near the base can smother the tree. Use a 4-inch diameter tree collar (or a ring of mulch-free soil) to prevent rot.
Stake the tree only if it leans heavily—evergreens grow stiff branches and rarely need support. If staking, use two stakes on opposite sides and tie with soft fabric strips (never wire). Water once a week for the first month, then every 2 weeks once established. You'll know it's thriving when new growth appears in spring or early summer.
⏰ Step 5: Monitor and Adjust for First-Year Growth
Check the soil moisture weekly by inserting your finger 2 inches deep. If it feels dry, water deeply. Evergreens show stress by dropping needles—if you see this, increase watering or improve drainage. Avoid fertilizing for the first year; new roots need time to establish before competing for nutrients.
Prune only to remove dead or broken branches in late winter or early spring. Never "thin" a newly planted evergreen—wait until it's 2-3 years old before shaping. The first year is about root growth, not foliage. With proper care, your tree will grow strong enough to handle years of seasonal changes.
Tips & tricks for perfect evergreen tree planting
Planting evergreens that last decades isn't just about following steps—it's about understanding the little details that make all the difference. Here's what I've learned from years of watching trees thrive (and a few that didn't make it).
Sunlight Strategy: That 6 hours of sunlight requirement in Step 1 is non-negotiable, but here's the trick: observe your yard at different times of day. Morning sun is gentler than harsh afternoon rays, especially in hot climates. I always plant on the north or east side of buildings when possible—it gives the same light without the midday intensity that can scorch young needles.
Root Ball Rescue: When you're loosening that root ball in Step 2, don't just poke at the edges—work your fingers all the way around. If you see roots circling tightly, make those 2-3 vertical cuts with a knife, but do it gently. I've seen people cut too deep and damage the main roots, which can set your tree back years. Think of it like untangling headphones—you want to separate without breaking.
Watering Wisdom: The 12-inch saturation in Step 3 is crucial, but here's how to check: after watering, stick your finger 2 inches deep—if it feels dry at that depth, you need more water. I've made the mistake of thinking "it looks wet" means it's soaked through. Pro tip: use a hose with a gentle spray setting for the first watering—it helps settle the soil without blasting it away from the roots.
Mulch Mastery: That 2-3 inch mulch layer in Step 4 is your tree's best friend, but placement matters. I've seen people pile mulch right against the trunk, which creates a perfect environment for rot. Keep that 4-inch tree collar—it's like creating a donut of bare soil around the base. And if you're using wood chips, avoid fresh ones—they can pull nitrogen from the soil as they decompose. Composted or aged mulch is the way to go.
Pro Tips for Planting Evergreen Trees
- Planting evergreens that last decades isn't just about following steps—it's about understanding the little details th...
- Sunlight Strategy: That 6 hours of sunlight requirement in Step 1 is non-negotiable, but here's the trick: observe yo...
- Root Ball Rescue: When you're loosening that root ball in Step 2, don't just poke at the edges—work your fingers all ...
Frequently asked questions
Got questions about planting evergreen trees? You’re not alone! Here are some of the most common concerns—and their answers—to help you get started with confidence.
When is the best time to plant evergreen trees?
The ideal window is early fall or late winter (before buds break). This gives roots time to establish before summer heat or winter cold. Avoid planting during extreme temperatures—evergreens hate stress! If you must plant in spring or summer, water deeply and mulch well to protect roots.
How often should I water newly planted evergreens?
Water deeply 2–3 times per week for the first year, ensuring soil stays moist (not soggy). After that, reduce to once a week unless drought strikes. Pro tip: Use a soaker hose or drip irrigation to avoid wetting needles, which can cause disease.
Can I plant evergreens in clay soil?
Yes! Amend clay soil with organic matter (compost, peat moss) to improve drainage. Evergreens like blue spruce or arborvitae tolerate clay if it’s not waterlogged. Test soil pH too—most evergreens prefer acidic (5.0–6.5). A simple soil test kit makes this easy!
Why are my evergreen needles turning brown after planting?
Brown needles often signal transplant shock or drought stress. Check soil moisture and mulch thickness (3–4 inches). If the issue persists, test for spider mites or fungal issues (like needle cast). Prune affected branches to encourage new growth—but avoid heavy trimming in the first year.
What’s a good evergreen alternative for small yards?
Space-saving options include:
- Dwarf Alberta spruce (3–5 ft tall)
- Emerald green arborvitae (12–15 ft tall, narrow)
- Mugo pine (compact, great for borders)
Wrapping up and next steps
Planting evergreen trees is a rewarding way to add year-round beauty and value to your landscape—and now you’ve got the sunlight-soil secrets to make them thrive! 🌲 From selecting the right species to mastering soil prep and maintenance, every step ensures your greens stay lush for decades.
Whether you’re a beginner or a seasoned gardener, your new trees are ready to grow strong with confidence.
Ready to take the next step? Mark your calendar for planting season, gather your tools, and watch your evergreen oasis flourish. Happy planting—your future shade (and curb appeal!) will thank you! 🌿✨