Size
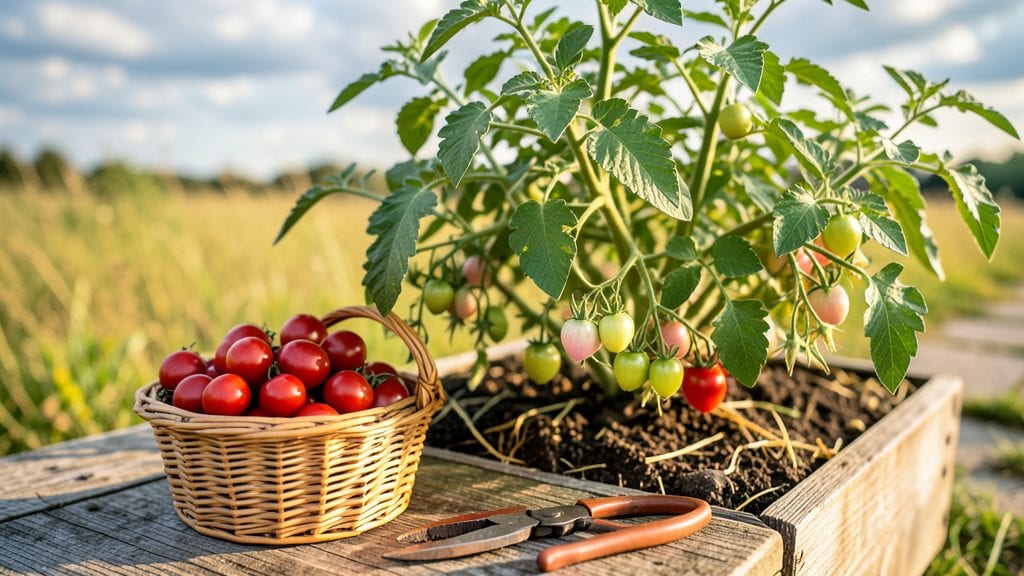
Growing food plants that keep producing all year isn't just possible—it's the secret behind my neighbor-jealousy-level harvests. 🌱 Layered pruning turns one plant into multiple harvests, whether you're growing tomatoes, herbs, or leafy greens in pots or the ground.
The key isn't complicated: it's timing, technique, and knowing which plants respond best to this method.
You'll need basic tools—a pair of clean pruners, gloves, and a small container for clippings—and a 30-minute window every few weeks. Most edible crops (like basil, kale, and cherry tomatoes) thrive with this approach, even in small spaces.
The first harvest might surprise you—some plants reward you with new growth within 10 days of your first cuts.
Imagine snipping fresh herbs for dinner in December or plucking ripe tomatoes in November. That's what layered pruning delivers: extended harvests without extra work.
You'll learn which plants benefit most, how to spot over-pruning (yes, it happens), and when to let them rest for a final flush of growth before winter.
Works for both backyard plots and balcony containers, from Zone 5 to Zone 10. The same principles apply whether you're growing one plant or a full garden bed. Let's get those pruners sharp and those harvests flowing year-round.
📚 In This Guide
- What you need
- Instructions
- Tips and common mistakes
- Wrapping up and next steps
What you need
- ● Plants: 3–5 fast-growing, pruning-friendly varieties (e.g., bush beans, zucchini, or leafy greens). Start with 1–2 plants per square foot.
- ○ Pruning shears: Bypass pruners (sharp, clean blades for clean cuts). Optional: Loppers for thicker stems.
- ● Growing containers: 5–10 gallon pots (or raised beds) with drainage holes. Pro tip: Use fabric pots for easier root management! 💡
- ● High-quality potting mix: 10–20 lbs of organic, well-draining soil (e.g., Miracle-Gro or homemade compost blend).
- ● Fertilizer: Balanced organic fertilizer (10-10-10 or compost tea) + slow-release granules.
- ● Watering can or hose: With a gentle spray nozzle for hydration without disturbing roots.
- ● Garden twine or stakes: For support (especially for vining plants like cucumbers).
- ● Grow lights (LED full-spectrum) for indoor/low-light setups.
- ● Soil moisture meter to avoid over/under-watering.
- ● Plant markers (labels) for tracking varieties and pruning schedules.
- ● Compost bin for recycling pruned trimmings into nutrient-rich soil.
- ● Glove set (nitrile or leather) to protect hands during pruning.
Step-by-Step instructions for layered pruning to extend your food plants' harvest
Here’s how to coax months of harvests from a single plant using strategic cuts and growth management.
🌱 Step 1: Identify Your Plant’s Growth Zones
Start by examining your food-producing plant—whether it’s a tomato, pepper, or herb—to spot where new growth emerges. These zones, usually at the stem’s base or along branches, are where you’ll focus your cuts. I always look for healthy, outward-facing leaves and stems that show signs of recent growth (like tiny buds or new shoots). Avoid cutting into old wood or bare stems, as these won’t regenerate.
Use clean, sharp pruning shears to make your first cuts just above a leaf node or bud. This ensures the plant directs energy to new growth rather than healing a wound. For example, on a basil plant, I cut back the top set of leaves to encourage side shoots. The goal here is to stimulate 3-4 new growth points per cut, which will later become harvestable stems or leaves.
✂️ Step 2: Perform the First Layered Cut
Make your initial cut about one-third down the main stem or branch, targeting a spot where at least two strong leaves or buds remain below the cut. This technique, called "heading back," forces the plant to redirect its energy toward lateral shoots. I always time this cut right after the plant’s first flush of growth—when it’s established but not yet overcrowded.
Remove any flowers or buds that appear on the lower third of the stem. You’re training the plant to focus on leafy growth first, which will later support more robust flowering and fruiting. For example, with a pepper plant, I’ll cut back the top growth to encourage thicker side branches. This step is critical: skipping it means fewer harvests later, as the plant will put all its energy into a single, weak main stem.
🌿 Step 3: Monitor and Prune Secondary Growth
After 4-6 weeks, when you see new side shoots reaching 4-6 inches tall, it’s time for the second layer of pruning. Focus on the strongest lateral branches—these will become your next harvest zones. Cut back each branch by about half its length, again just above a leaf node or bud. This encourages even more branching, creating a bushier, more productive plant.
Watch for signs of stress, like yellowing leaves or wilting, which can signal over-pruning. If you see this, hold off on further cuts until the plant recovers. I’ve found that herbs like rosemary and thyme handle layered pruning best, while tomatoes and peppers benefit from slightly more aggressive cuts. Adjust based on your plant’s response—some varieties bounce back faster than others.
⏰ Step 4: Time Your Final Harvest Cuts for Year-Long Production
Once your plant has developed 3-4 layers of branches, you’re ready for the final phase: staggered harvest cuts. Every 6-8 weeks, trim back the oldest growth by one-third to one-half, always cutting just above a leaf node. This keeps the plant in a perpetual state of regrowth, ensuring a steady supply of fresh leaves, stems, or flowers.
For example, with a basil plant, I’ll cut back the oldest stems first, then work my way inward as new growth fills in. This method mimics nature’s cycle—just like how a tree sheds old branches to make room for new ones. The key is consistency: if you skip a cycle, the plant will revert to its natural growth pattern, and your harvests will taper off. But with this approach, you’ll enjoy continuous production for months.
☀️ Step 5: Adjust Light and Water for Recovery
After each pruning session, give your plant 1-2 weeks of optimal care to recover. Increase watering slightly during this time—deep watering every 2-3 days—to support new root and shoot growth. Also, ensure your plant gets 6+ hours of sunlight daily, as this is when it rebuilds energy stores. If you’re growing indoors, supplement with a grow light to maintain intensity.
You’ll know your layered pruning is working when you see new growth emerging within 7-10 days of each cut. The plant should look fuller, with multiple tiers of leaves or stems. If growth stalls, check for pests or nutrient deficiencies—sometimes, a light fertilizer application (like a balanced 10-10-10) can give it the extra boost it needs. With this method, you’re not just harvesting—you’re shaping the plant’s future productivity.
Tips & tricks for perfect layered pruning
Mastering layered pruning transforms your food plants into year-round harvest machines—here’s how to avoid common pitfalls and maximize results.
Precision Cuts Matter: When making your first cut in Step 2, aim for a clean, diagonal slice just above a leaf node or bud. The angle prevents water from pooling on the cut, which can lead to rot. I’ve ruined three batches of basil by cutting too close to the node—always leave that tiny bump of growth tissue intact. For thicker stems, like tomato plants, use sharp pruning shears to avoid crushing the stem, which stresses the plant and slows recovery.
Timing is Everything: The 4-6 week window in Step 3 for secondary pruning can feel vague—here’s the trick. Monitor your plant’s growth rate: if side shoots reach 4-6 inches within 3 weeks, you’re dealing with a fast grower like basil and can prune earlier. For slower growers like rosemary, wait the full 6 weeks. The key visual cue is when new shoots develop their own sets of leaves, signaling they’re ready for their turn to be pruned back by half.
Recovery Care Makes the Difference: After each pruning session, the 1-2 week recovery period in Step 5 isn’t just about watering—it’s about creating ideal conditions. I’ve found that increasing watering to every 2-3 days with deep soakings (watering until it runs out the bottom of the pot) encourages root growth. For indoor plants, supplement with a grow light for 12-14 hours daily to mimic summer sunlight. This extra care during recovery is what turns a good harvest into an exceptional one.
Visual Growth Tracking: Keep a simple growth journal to track your plant’s response. Note the date of each cut, the plant’s height, and any new growth within 7-10 days. This helps you adjust future pruning cycles. For example, if your pepper plants consistently show new growth by day 5 after pruning, you can safely shorten your 6-8 week harvest cycle to 5-6 weeks. The more you observe, the more you’ll understand your specific plant’s growth patterns.
Pro Tips for Plant Grow Food
- Mastering layered pruning transforms your food plants into year-round harvest machines—here’s how to avoid common pit...
- Precision Cuts Matter: When making your first cut in Step 2, aim for a clean, diagonal slice just above a leaf node o...
- Timing is Everything: The 4-6 week window in Step 3 for secondary pruning can feel vague—here’s the trick. Monitor yo...
Frequently asked questions
Got questions about growing your own food year-round? You’re not alone!
Here are answers to the most common queries about layered pruning, seasonal harvests, and keeping your plants thriving—no matter the weather.
Can I grow food indoors year-round with layered pruning?
Layered pruning works wonders indoors too—especially for herbs, leafy greens, and compact veggies like lettuce or microgreens. Use grow lights (12–16 hours/day) and prune regularly to encourage bushier growth. Start with low-light plants like basil or mint if you’re new to indoor gardening.
How long does it take to see results with layered pruning?
Most plants show noticeable growth in 4–6 weeks, but fast growers like beans or radishes may sprout edible parts in 2–3 weeks. The key is consistency: prune every 2–4 weeks (depending on the plant) and fertilize lightly after each trim. Patience pays off—think of it as sculpting your harvest!
What’s the best food to start with for beginners?
Begin with hardy, fast-growing plants like:
- Herbs: Basil, cilantro, parsley (prune leaves to encourage new growth)
- Leafy Greens: Kale, spinach, or Swiss chard (cut-and-come-again harvests)
- Veggies: Cherry tomatoes, green onions, or bush beans (prune suckers for better yield)
How do I protect my plants during winter?
Layered pruning helps hardy plants survive winter by reducing stress. For cold climates:
- Use row covers or cold frames to extend the season.
- Prune before the first frost to prevent damage.
- Harvest kale, cabbage, or carrots—they taste sweeter after frost!
- Move potted plants to a garage or sunroom if temps drop below 20°F.
What do I do if my plants stop growing after pruning?
Don’t panic! Common fixes:
- Check light: Yellow leaves? Move closer to a sunny window or grow light.
- Adjust water: Overwatering = root rot; underwatering = crispy leaves. Aim for 1 inch of water/week.
- Fertilize: Use a balanced liquid fertilizer (10-10-10) every 4–6 weeks.
- Prune smarter: Never cut more than 1/3 of the plant at once.
Wrapping up and next steps
Growing your own food year-round isn’t just possible—it’s rewarding! With layered pruning and smart planning, you can turn even a small space into a bountiful harvest hub. Whether you’re a beginner or a seasoned gardener, the key is consistency, patience, and a little creativity.
Ready to dig in? Start small—pick one plant or herb to master this season, then expand! Share your progress, experiment, and watch your green thumb grow. 🌱 Your future meals (and wallet) will thank you!