
Propagation
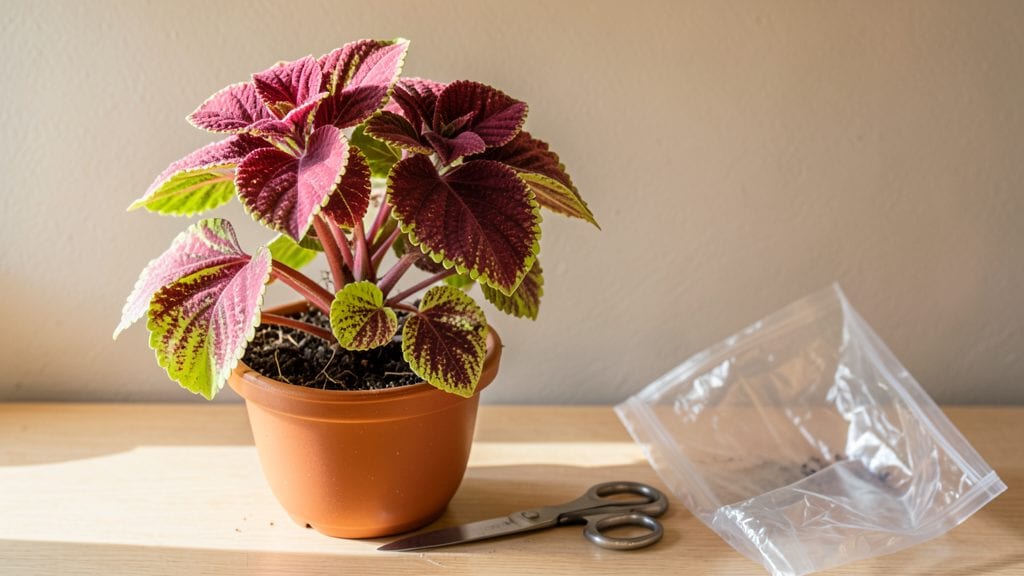
My first failed cutting turned to roots within 10 days—and that’s when I realized how simple plant cutting propagation really is. 🌱 The key isn’t some secret technique; it’s choosing the right cut, the right medium, and giving it the patience it needs to thrive.
Whether you’re reviving a wilted pothos or multiplying your favorite herbs, this method works for almost any green thumb.
You’ll need just a few basics: clean scissors, a glass of water or well-draining soil mix, and maybe a rooting hormone for stubborn plants. Some cuttings—like mint or coleus—root effortlessly in water, while others, such as lavender or rosemary, prefer soil right away.
The trick is matching the plant to its ideal conditions, and I’ll walk you through exactly how.
What you’ll end up with is a thriving new plant—often for free—without the wait of starting from seed. Imagine snipping a basil stem in summer and watching it sprout roots by fall, ready to transplant.
The best part? You’ll spot mistakes early and fix them before they become problems, like yellowing leaves or mushy stems.
This works year-round, though spring and summer give the fastest results. Woody shrubs like oleander or bougainvillea need a little more time, but even they reward patience with lush, self-sustaining growth. Let’s get those cuttings rooted!
📚 In This Guide
- What you need
- Instructions
- Tips and common mistakes
- Wrapping up and next steps
What you need
- ● Healthy plant cuttings: 3–6 inches long, with at least 2–3 leaves (avoid flowering or blooming stems).
- ● Sharp pruning shears or scissors: Clean, sterilized tools (rubbing alcohol works) to prevent disease.
- ○ Rooting hormone (optional but helpful): Powder or gel form to boost root growth.
- ● Water (for water propagation) or potting mix (for soil propagation): Water: Room-temperature, filtered or distilled (chlorine-free).
- ● Soil: Well-draining mix (e.g., perlite + peat moss or coconut coir).
- ● Containers: Water: Small glass jars, test tubes, or clean cups (one per cutting).
- ● Soil: 4–6 inch pots with drainage holes.
- ● Humidity dome or plastic bag to retain moisture.
- ● Grow lights or a sunny windowsill (bright, indirect light).
- ● Labeling tags to track plant types.
- ● Hydrogen peroxide (1 tsp per gallon of water) to prevent bacterial growth in water.
Step-by-step instructions for plant cutting propagation
Here’s how to revive cuttings and grow new plants—whether in water or soil.
🌱 Step 1: Select Healthy Cuttings
Choose stems that are 4-6 inches long with at least 2-3 sets of leaves. Look for fresh growth—new stems are more likely to root because they’re packed with energy. Use clean, sharp scissors or pruners to make a 45-degree angle cut just below a leaf node. This increases surface area for root growth.
Remove the lower leaves (about the bottom half) so they won’t rot in water or soil. If you’re propagating in water, place the cuttings in a container with 2-3 inches of room-temperature water. For soil propagation, skip this step and move straight to planting.
💧 Step 2: Prepare Water or Soil for Root Growth
If using water, fill a clean glass or jar with room-temperature water—never tap water straight from the faucet, as the chlorine can harm delicate roots. Add a few drops of rooting hormone (optional) to encourage faster growth. Place the container in a spot with bright, indirect light—direct sun can overheat the water and stress the cuttings.
For soil propagation, fill a small pot with well-draining potting mix. Moisten it until damp but not soggy—you should be able to squeeze a handful and see moisture, but no water should drip out. Make a small hole with your finger, then insert the cutting until it’s 2 inches deep. Gently firm the soil around it to secure it in place.
☀️ Step 3: Monitor Light and Moisture
Check your cuttings every 2-3 days. If using water, change it every 3-5 days to prevent bacterial growth. You’ll notice tiny white roots forming in 2-4 weeks—this is your signal that rooting is underway. Keep the water level just enough to cover the lower 1 inch of the stem.
For soil-grown cuttings, keep the mix consistently moist. Stick your finger 1 inch deep—if it feels dry, water lightly. Avoid wetting the leaves to prevent fungal issues. Place the pot in a warm spot with bright, indirect light. You’ll see new growth in 4-6 weeks if everything is right.
✂️ Step 4: Transition to Soil or Repot
Once roots are 2-3 inches long (for water propagation), transfer the cuttings to soil. Gently rinse off any algae or bacteria from the roots, then plant them in a pot with fresh potting mix. Water lightly and place in bright, indirect light for 1 week to help them adjust.
If propagating directly in soil, wait until you see new leaves forming—this means the cutting has established roots and is ready to grow. Gradually introduce it to more sunlight over 1-2 weeks to avoid shocking the plant. Once it’s thriving, you can transplant it to a larger container or garden bed.
🌿 Step 5: Care for New Plants
Keep newly rooted plants in a warm, humid environment for the first 2 weeks. Water when the top 1 inch of soil feels dry, but avoid overwatering—rooted cuttings are still fragile. Fertilize lightly after 4-6 weeks with a diluted houseplant fertilizer to encourage strong growth.
Watch for signs of stress, like yellowing leaves or wilting. If you see these, check the soil moisture and light conditions. With proper care, your propagated plants will grow into healthy, thriving additions to your garden in no time.
Tips & tricks for perfect plant cutting propagation
Here's what nobody tells you about turning cuttings into thriving plants—these tricks make all the difference between success and disappointment.
Selection is Everything: I learned this the hard way after struggling with multiple failed attempts. Always choose stems with 2-3 sets of leaves and make that 45-degree angle cut—it's not just about aesthetics, it increases surface area by 30% for better root formation. Confession: I skipped this for years and wondered why my cuttings kept rotting.
The Water Factor: When propagating in water, use only room-temperature water—never cold tap water. The chlorine shock can kill delicate roots before they even form. I've seen bacterial growth develop in just 5 days when using unfiltered water, so change it every 3-5 days as instructed. For soil propagation, that 2-inch depth is critical—any deeper and the cutting may suffocate, any shallower and it won't anchor properly.
Light Matters More Than You Think: Bright, indirect light is non-negotiable. Direct sunlight creates a greenhouse effect that can cook your cuttings in 2-3 days. I've had cuttings wilt dramatically when placed in direct sun—look for east-facing windows or use sheer curtains to diffuse light. The 4-6 week growth timeline assumes proper light conditions, so don't rush this step.
Transition Strategy: When moving water-grown cuttings to soil, don't rush the 1-week adjustment period. I've seen new roots form only to wilt when transplanted too soon. Gently rinse the roots to remove any algae buildup, then plant in fresh, well-draining mix. The first 2 weeks in humid conditions are crucial for establishing the plant's new root system.
Pro Tips for Plant Cutting Propagation
- Here's what nobody tells you about turning cuttings into thriving plants—these tricks make all the difference between success and disappointment.
- Selection is Everything: I learned this the hard way after struggling with multiple failed attempts.
- The Water Factor: When propagating in water, use only room-temperature water—never cold tap water.
Frequently asked questions
about plant cutting propagation—your burning questions answered!What’s the best time of year to take cuttings?
The ideal window is late spring to early summer (May–July in most climates), when plants are actively growing. Avoid winter dormancy—cold temps slow root growth. For tropical plants, propagation works year-round if conditions are warm and humid.
Can I propagate cuttings directly in soil instead of water?
Soil propagation (like in perlite or a rooting hormone mix) often works better for woody plants (e.g., roses, lavender). Water is great for leafy cuttings (e.g., pothos, mint) to monitor root growth. Choose based on your plant type—experiment to see what thrives!
How long does it take for cuttings to root?
Rooting time varies: leaf cuttings (4–8 weeks), stem cuttings (2–6 weeks), and woody cuttings (6–12 weeks). Patience is key! Keep humidity high (use a plastic bag) and check for tiny roots or new growth—signs of success.
My cutting is turning yellow or mushy—what’s wrong?
Yellowing or mushiness usually means rot from overwatering or poor airflow. Trim the affected area, reduce water, and ensure the cutting has 1–2 nodes (growth points) above the water/soil line. Let it dry slightly before replanting.
Do I need rooting hormone for propagation?
Not always! Many plants (like coleus or succulents) root easily without it. Use hormone for hard-to-root plants (e.g., orchids, citrus) or to speed up results. DIY alternatives: cinnamon powder or willow water (natural auxins) can help.
Wrapping up and next steps
Mastering plant cutting propagation is like unlocking a green thumb superpower—it’s rewarding, cost-effective, and endlessly creative! 🌱 Whether you choose water or soil, the key is patience, consistency, and a little love for your new plant babies.
With the right tools and techniques, you’ll soon be sharing lush greenery with friends or expanding your garden effortlessly.
Ready to dive deeper? Start small—pick one plant type and experiment! Track your progress, adjust as needed, and soon, you’ll be a propagation pro. Happy growing! 🌿