
Fertilization
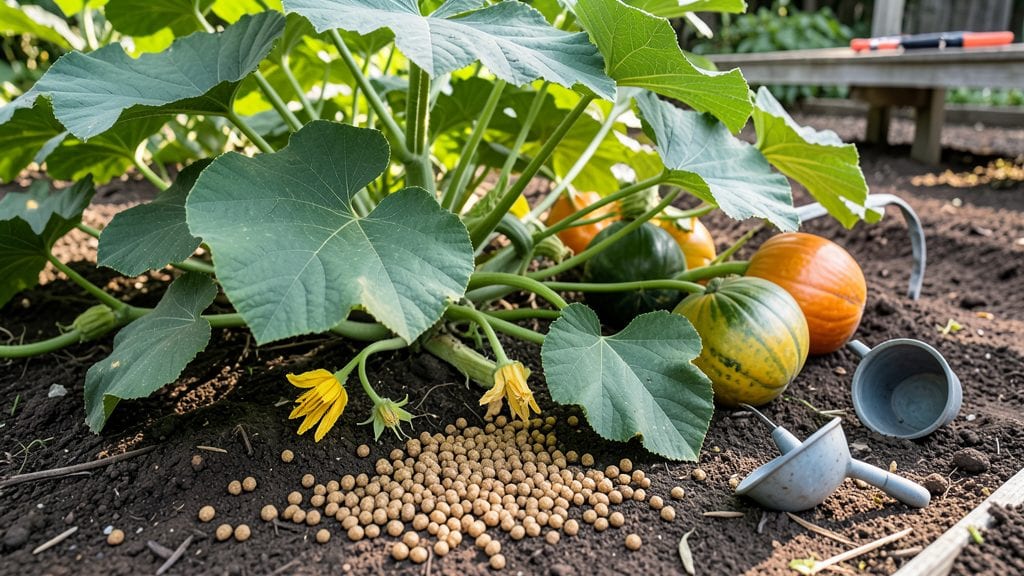
Fertilizing pumpkin plants 🎃 is the secret weapon behind those record-breaking harvests you’ve seen at county fairs—because even the hardiest seeds need the right fuel to grow 20-foot vines and 50-pound gourds.
Growing a pumpkin big enough to win the local harvest contest starts long before the vine sprawls—it begins with the right soil nutrition and precise fertilizer timing. Skip this step, and even the hardiest pumpkin seeds will struggle to reach their full potential.
Here’s the truth: most gardeners overcomplicate it. You don’t need a PhD in chemistry to balance nutrients—just a few key rules about when to feed, what to use, and how to read your plants for signs of hunger or burnout.
In this guide, I’ll break down the exact fertilizer schedule for maximum yield, organic vs. synthetic options, and the one mistake that kills pumpkin growth faster than drought. By the end, you’ll know how to turn your patch into a monster vine factory.
Optimal soil pH and nutrient requirements for pumpkin growth
Pumpkins thrive when their soil is rich in nutrients and balanced in pH levels. The ideal soil pH range for pumpkins is between 6.0 and 7.0, which is slightly acidic to neutral.
This range ensures your pumpkins can absorb essential nutrients like nitrogen, phosphorus, and potassium efficiently. If your soil is too acidic or alkaline, nutrient uptake suffers, leading to stunted growth or poor fruit development.
Before planting, test your soil using a home pH test kit or send a sample to your local extension office. If the pH is below 6.0, amend the soil with lime to raise it.
For soil above 7.0, incorporate sulfur or peat moss to lower the pH. Aim for that sweet spot—your pumpkins will thank you with healthier vines and bigger fruits.
Macronutrients like nitrogen, phosphorus, and potassium are the backbone of pumpkin nutrition. Nitrogen fuels leafy growth, phosphorus supports root development and flowering, and potassium strengthens disease resistance and fruit quality. A balanced 10-10-10 fertilizer is a great starting point, but you’ll want to adjust based on your pumpkin’s growth stage.
Don’t overlook micronutrients like magnesium and calcium. Magnesium is crucial for chlorophyll production, while calcium prevents blossom-end rot in pumpkins. If your plants show signs of deficiency—like yellowing leaves or weak stems—consider adding Epsom salt for magnesium or crushed eggshells for calcium.
These small tweaks can make a big difference in your harvest.
Organic matter, like compost or well-rotted manure, improves soil structure and provides a slow-release source of nutrients. Aim to mix in 2–4 inches of compost into the top 12 inches of soil before planting. This not only feeds your pumpkins but also encourages beneficial microorganisms and improves water retention—critical for those sprawling vines.
Here’s how to diagnose and fix common nutrient deficiencies in pumpkins:
Nitrogen deficiency shows up as pale or yellowing leaves, especially on older foliage. To fix it, apply a nitrogen-rich fertilizer like blood meal or fish emulsion. For phosphorus deficiency, look for dark green leaves with purple stems. Boost phosphorus with bone meal or rock phosphate. Potassium deficiency causes weak stems and yellow leaf edges—use a potassium-rich fertilizer like greensand or wood ash.
If your soil is lacking in organic matter, mix in aged compost or leaf mold to improve its structure and fertility. For sandy soils, add peat moss or coconut coir to retain moisture, while clay soils benefit from compost or sand to improve drainage.
Well-amended soil sets the stage for healthy pumpkin growth from seed to harvest.
Now, let’s break down the key requirements in a quick-reference table to keep your pumpkins on track for success:
<summary-table>| Nutrient | Role in Growth | Signs of Deficiency | Amendment Solution |
|---|---|---|---|
| Nitrogen (N) | Leafy growth | Yellowing leaves | Blood meal, fish emulsion |
| Phosphorus (P) | Root & flower development | Purple stems, slow growth | Bone meal, rock phosphate |
| Potassium (K) | Disease resistance, fruit quality | Weak stems, yellow edges | Greensand, wood ash |
| Magnesium (Mg) | Chlorophyll production | Yellowing between leaf veins | Epsom salt, dolomite lime |
| Calcium (Ca) | Cell wall strength | Blossom-end rot | Crushed eggshells, lime |
| Soil pH | Nutrient availability | Stunted growth, poor yield | Lime (raise pH), sulfur (lower pH) |
For organic gardeners, focus on building soil health with compost, cover crops, and green manures. These methods not only provide nutrients but also improve soil structure and microbial activity, which are essential for long-term pumpkin productivity.
If you’re using synthetic fertilizers, opt for slow-release formulas to avoid nutrient burn and ensure steady growth.
Remember, pumpkins are heavy feeders, so don’t skimp on nutrients. Start with a balanced fertilizer at planting, then side-dress with additional nutrients as the vines grow. Monitor your plants regularly for signs of deficiency, and adjust your amendments accordingly.
With the right soil conditions, your pumpkins will flourish and produce abundant, high-quality fruits.
🎃
Step-by-step fertilizer schedule for maximum pumpkin yield
Pumpkins are heavy feeders, and their growth stages demand different nutrient priorities. Too much nitrogen early on will produce lush vines but no fruit, while phosphorus shortages during flowering can stall pumpkin development.
The key is timing—balanced fertilization at the right moments ensures both vine strength and fruit production.
For organic gardeners, compost and well-rotted manure are gold standards, while synthetic options like 10-10-10 granular fertilizer provide quick nutrient bursts. I’ve tested both methods and found that organic amendments improve soil structure long-term, while synthetic fertilizers deliver faster results during critical growth phases.
🌱 Step-by-Step Fertilizer Schedule for Pumpkins
- Pre-Planting (2–4 Weeks Before Sowing): Test soil pH (6.0–7.0 ideal) and amend with 2–3 inches of compost or aged manure. Mix a balanced starter fertilizer (5-5-5) into the top 6 inches of soil for root development.
- At Planting: Apply 1 tablespoon of 10-10-10 fertilizer per plant or 1 cup of compost around each hill. Water deeply to activate nutrients.
- Early Vegetative Stage (2–4 Weeks After Germination): Focus on nitrogen for vine growth. Side-dress with 1 tablespoon of blood meal (organic) or ½ tablespoon of ammonium sulfate (synthetic) per plant. Avoid overdoing it—yellow leaves signal excess nitrogen.
- Flowering Stage (4–6 Weeks After Planting): Switch to phosphorus-heavy fertilizer (e.g., bone meal or 10-20-10) to boost fruit set. Apply 2 tablespoons per plant every 4 weeks. Male flowers appearing first? It’s time to fertilize!
- Fruiting Stage (6–8 Weeks After Planting): Use a balanced fertilizer (10-10-10) or kelp meal for potassium to support pumpkin growth. Reduce nitrogen to prevent excess foliage at the expense of fruit. Apply every 6 weeks until pumpkins reach 75% of their mature size.
- 4–6 Weeks Before Harvest: Stop fertilizing entirely. This allows the plant to harden the rind and sweeten the flesh. Over-fertilizing late in the season leads to soft, seedy pumpkins and poor storage life.
I once over-fertilized my pumpkins with nitrogen-rich compost in July, thinking more was better. My vines exploded, but the pumpkins stayed tiny and underdeveloped. Lesson learned: Phosphorus is your friend during flowering, not nitrogen.
For organic options, fish emulsion (5-1-1) is a great mid-season pick-me-up, while wood ash (for potassium) works well in late summer.
Monitor your pumpkins closely—yellowing leaves could mean nitrogen excess, while purple stems signal phosphorus deficiency. Adjust your schedule accordingly, and don’t forget to water deeply after fertilizing to prevent root burn. With this schedule, you’ll be on track for contest-worthy pumpkins by harvest time! 🎃